Guide - How to build a product page in Elementor
This guide is made to help you build a product page in Elementor, using block and template customize for ICC-RSF.
First Step – Modify and/or clone an existing page
Creating a new page is simple, but cloning a page is easier.
Click on Pages in the left side menu. First, to help select the page you want to clone/modify, it’s easier to separate english and french, as by default you see all pages. So in the top bar, rollover the language and select what you want. Here we go with english.
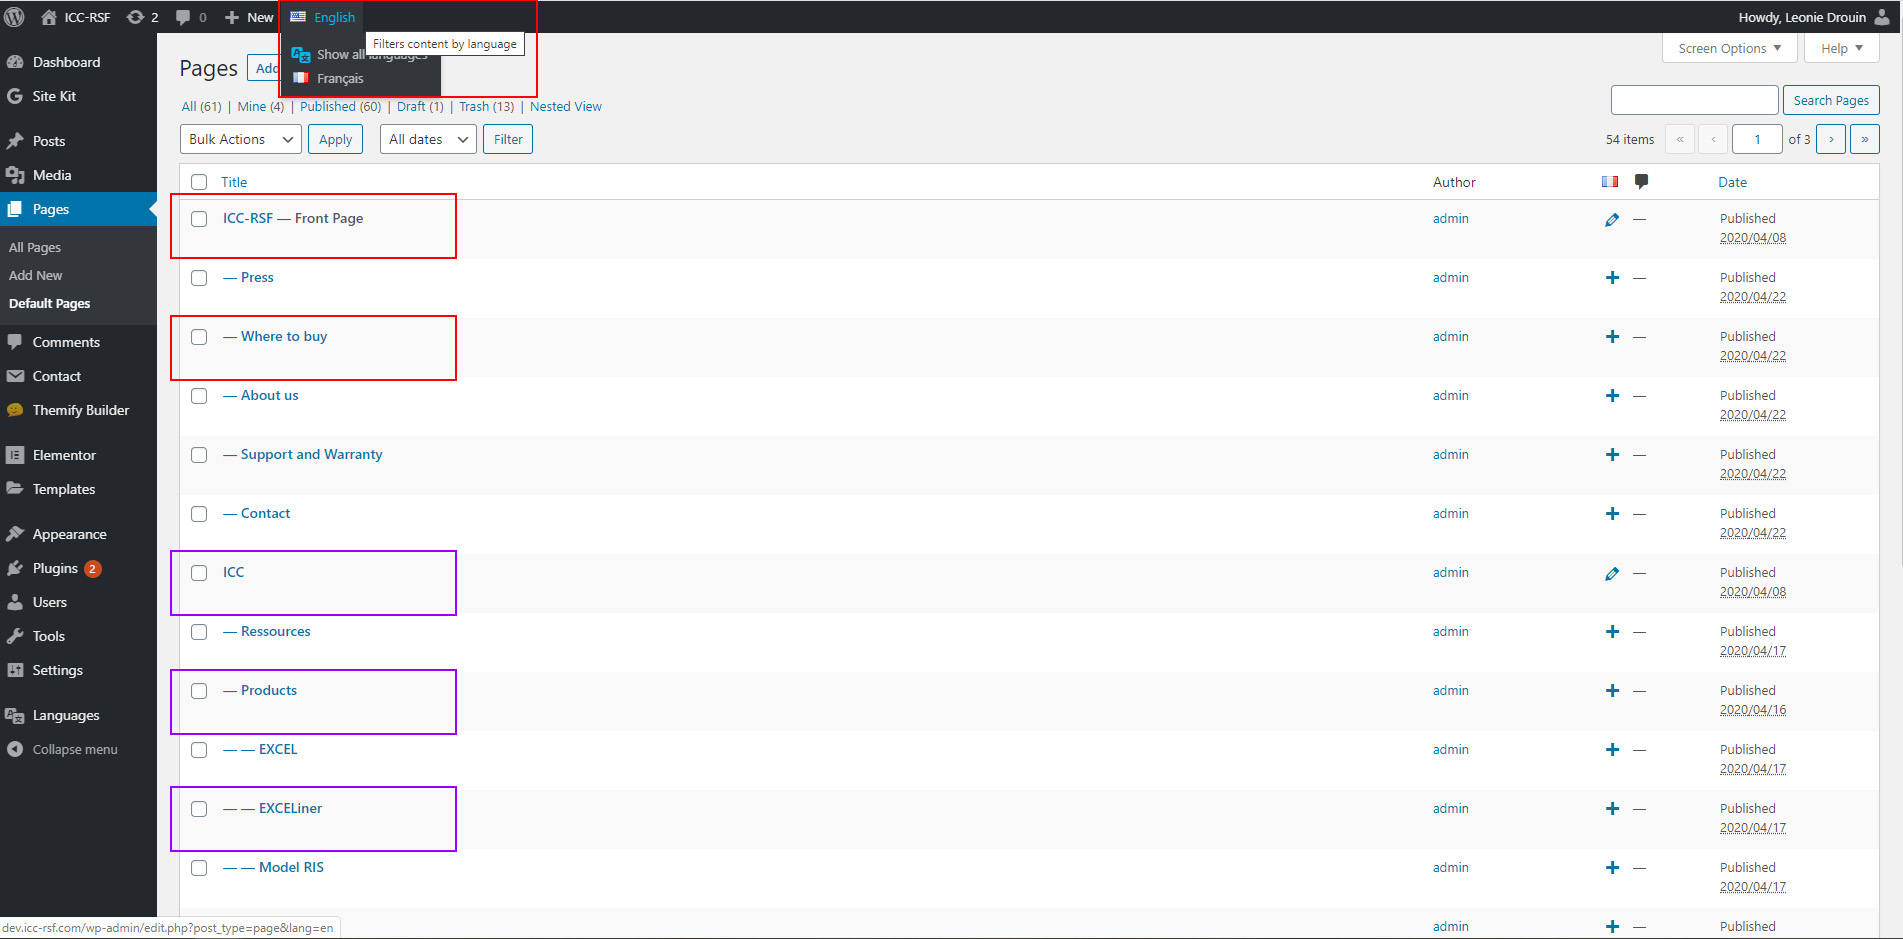
The structure can be seen with the dash before the page’s name. Where there’s no dash, it’s the main page. The home page have the mention – Front Page on the right side of the page name.
One dash means it’s one level, two dash means it’s second level. So, Where to buy is a page under ICC-RSF, EXCELiner is a page under Product, which is a page under ICC.
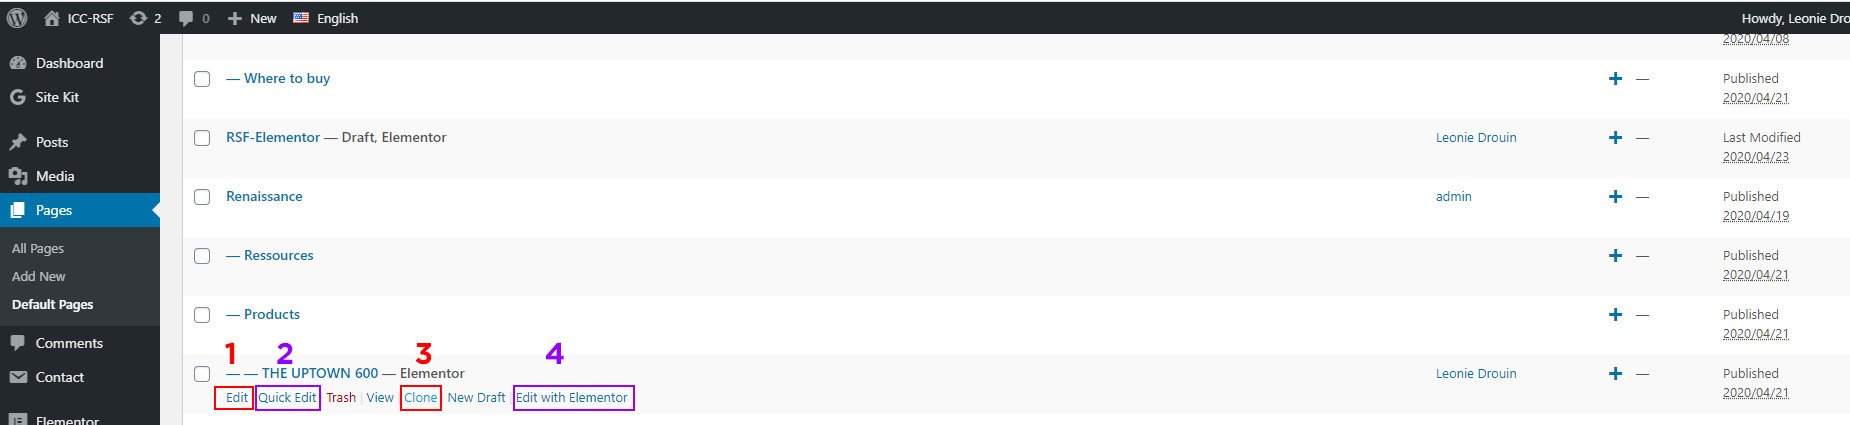
When you rollover a page, a menu appears with options.
- Edits – It brings you to the WordPress Editor. Since we are using Elementor, clicking here will bring you to the basic settings of the page, which you could have access through the second options, quick edits.
- Quick Edits – Bring another menu with the basic page options. We review in details below.
- Clone – As it says, creates a clone of the page. This will be very usefull to build quickly similar pages (example, the products page).
- Edits with Elementor – Brings you directly to the Elementor editor, to modify the pages. Before clicking there, make sure the basic settings of the page are done. You have to activate Elementor on a page before you can see this option. To do so, you have to edit the page in WordPress Editor, and once you click on the button “Edit with Elementor”, it will be activated.
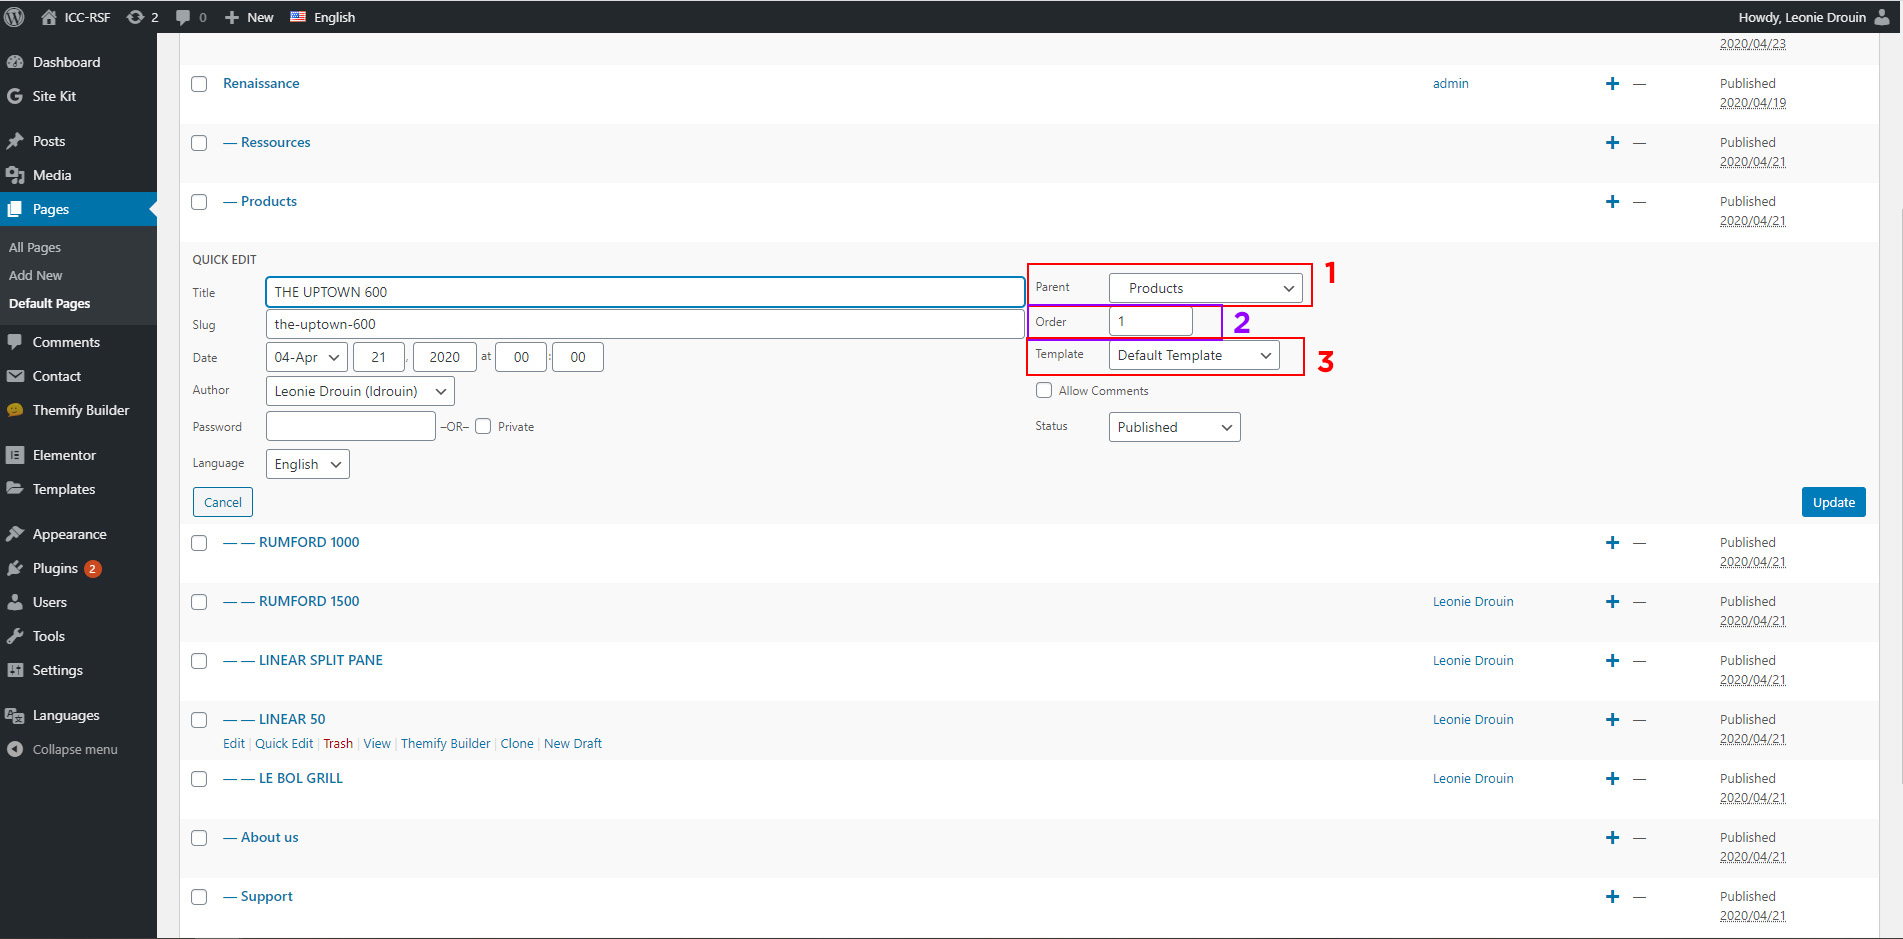
In the Quick Edits menu. you have access to some basic settings of the page, directly whiting the page tab, which can save time. Here you can change the page name, but also:
- The Parent page – This determined under which page this one is. If this is the main page, choose the option “Main Page (no parent)”.
- The Order of the page – This is important when you have multiple pages under one parent. This determine the order of the pages. For example, if you have pages Delta Fusion, Pearl and Focus 320, but you want to change the order and have Focus 320 first, you need to change this order number to Focus 320 (1), Delta Fusion (2) and Pearl (3). You main need to refresh the page to see the changes in the Pages tab.
- Template – Choose the template in WordPress to use for this page. Right now we are using the template named No title for mostly all pages, as by default WordPress add a title section that can’t be mofidy. WordPress also use this title to name the page which can be confusing. So we make the title invisible in the page, and we use this title to name the page in WordPress, so it easy to find the page you are looking for.
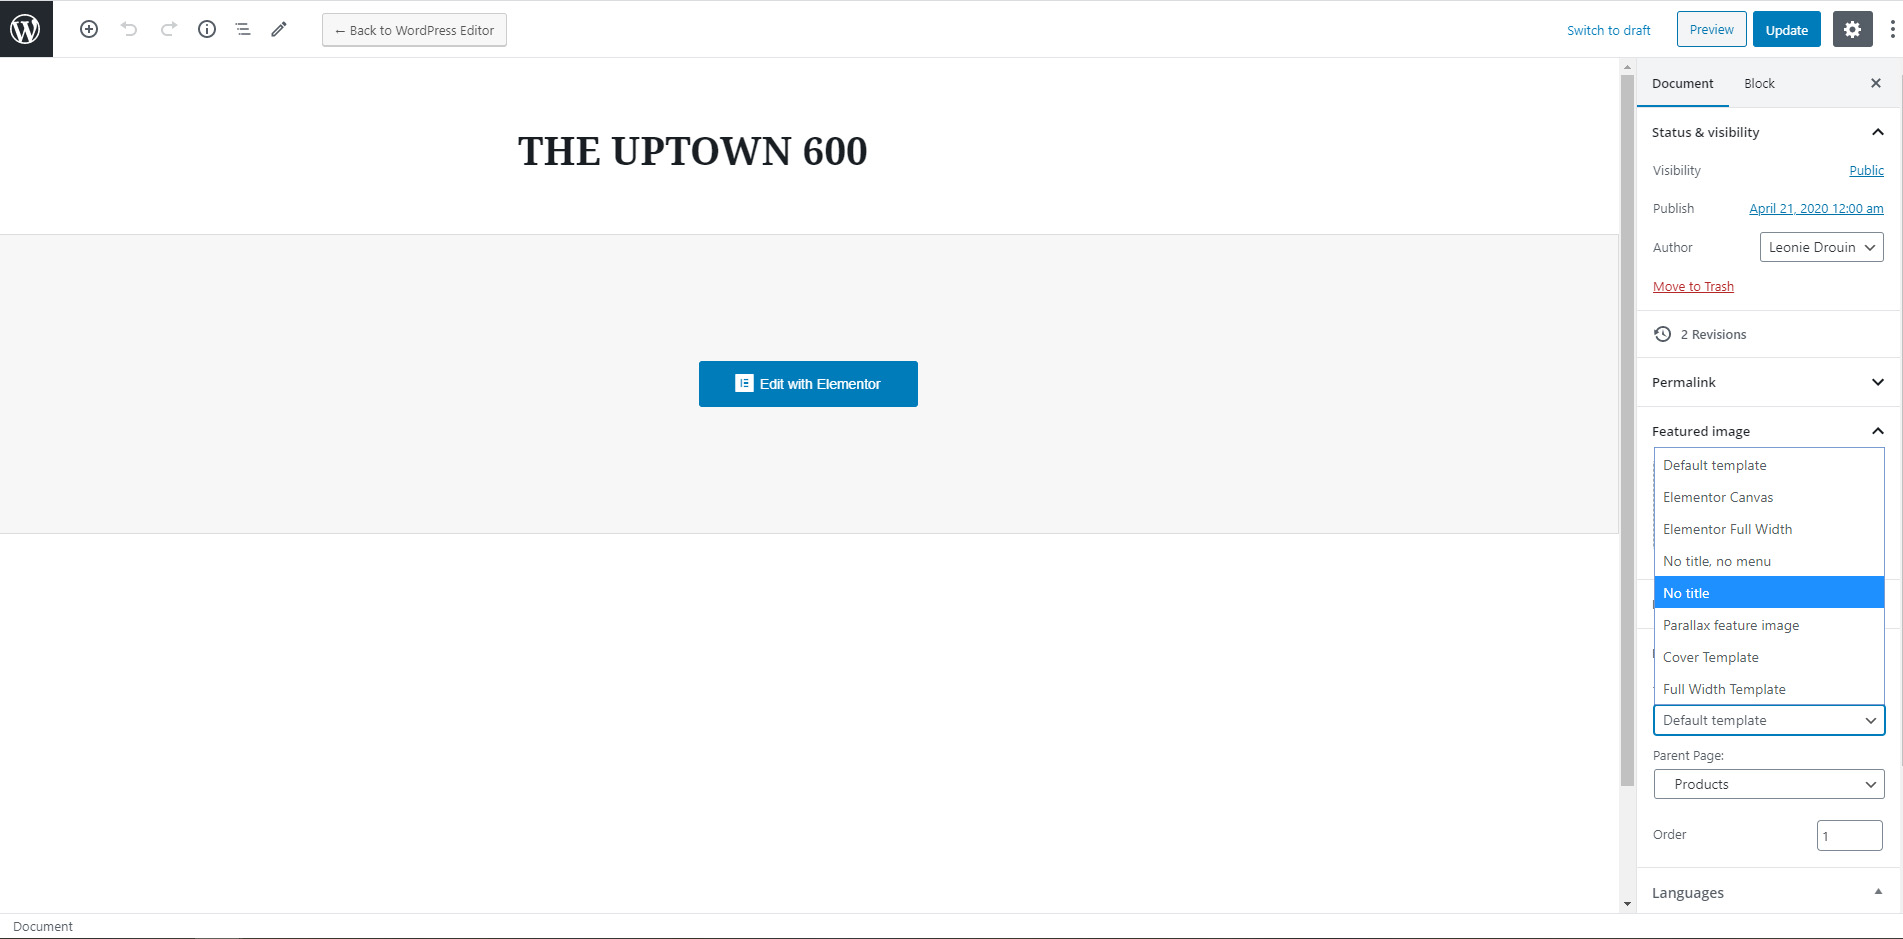
If you click on edit, you will be directed to the WordPress editor. Here you have the basic page options on the right panel. There you can choose the template (No title) and publish the page. You can also modify the name of the page (the title that won’t be showing on the page). To edit the content in Elementor, click on the button in the center. When you click on the Edit with Elementor option in the listing under Pages tab, you skip this step.
Second Step – Building the page content
Once in elementor, by default you will have a section on the top that need to be removed. It won’t be easy because the menu appears on top of the blue options tab that appears when you rollover the section. You will have to bring your cursor closed between the blue line and the menu, until the cursor change to a pointing hand, and then right-click and choose the option delete in the menu that appears. We need to do this, otherwise there will be a blank section at the top of the page.

Then we can import blocks or page layout to start building the page. Here I will show how to import a layout, but importing blocks (sections) is the same process.
Click on the gray folder icon.![]()
In the list, choose the template you want to import. Click on the green button Insert.
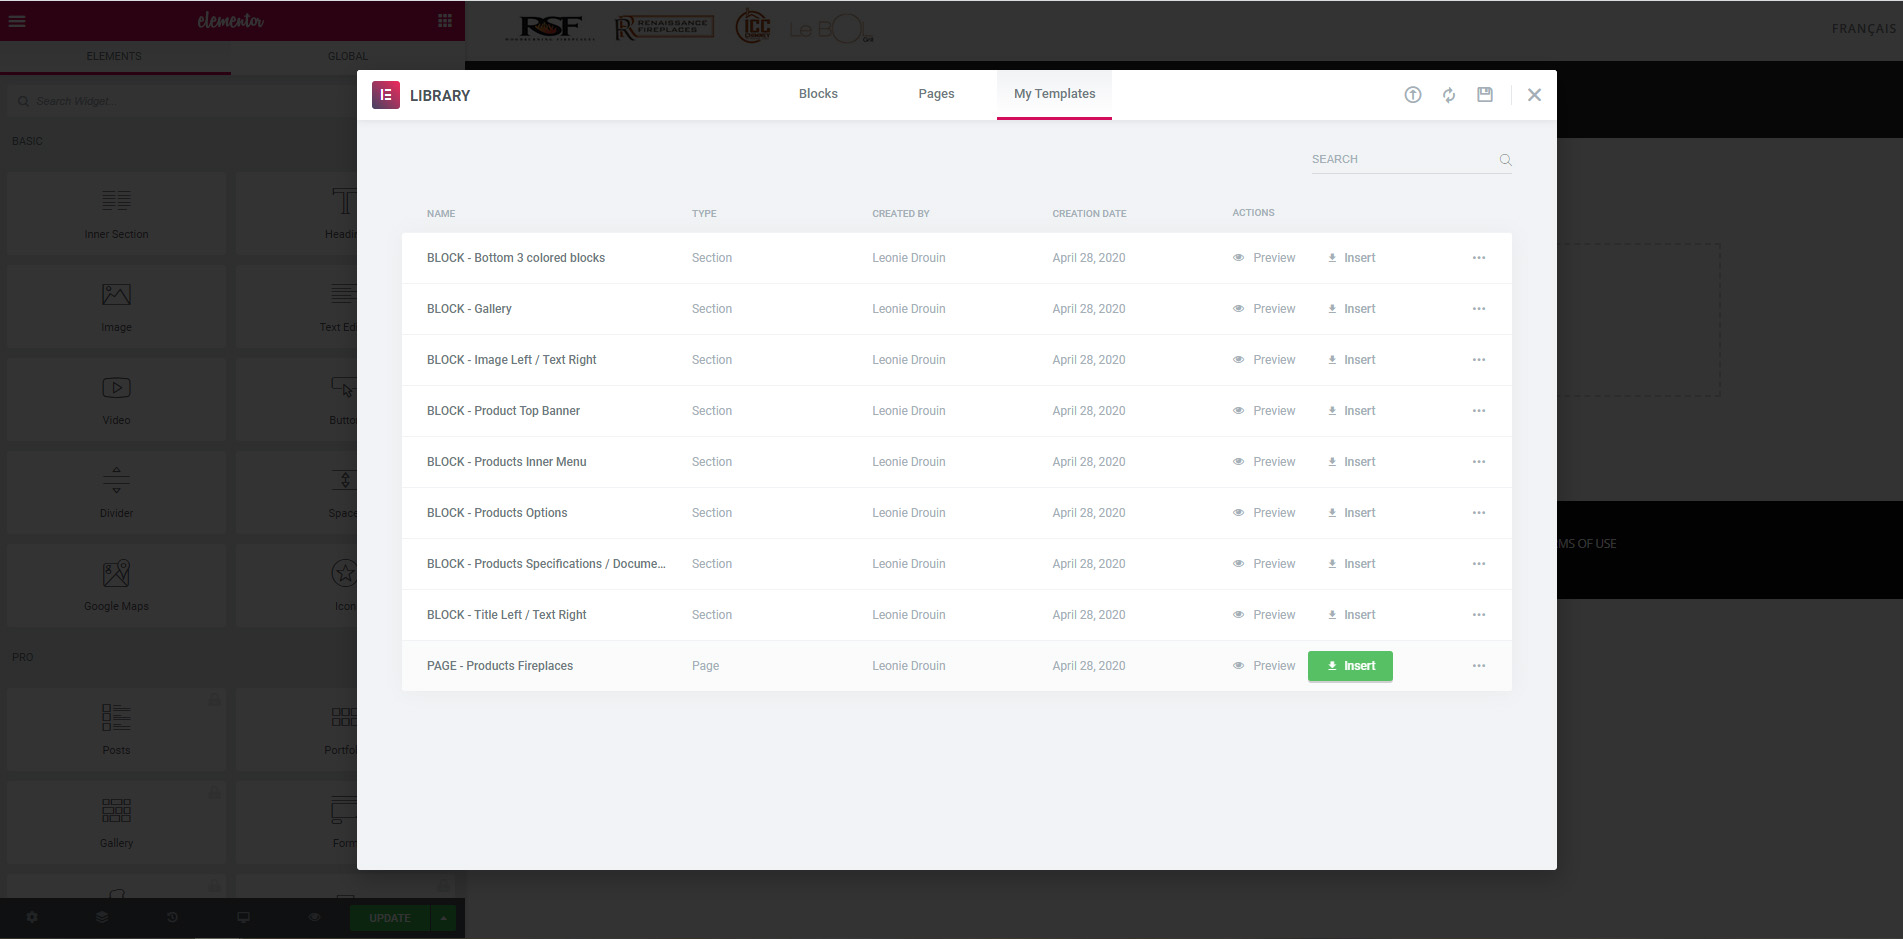
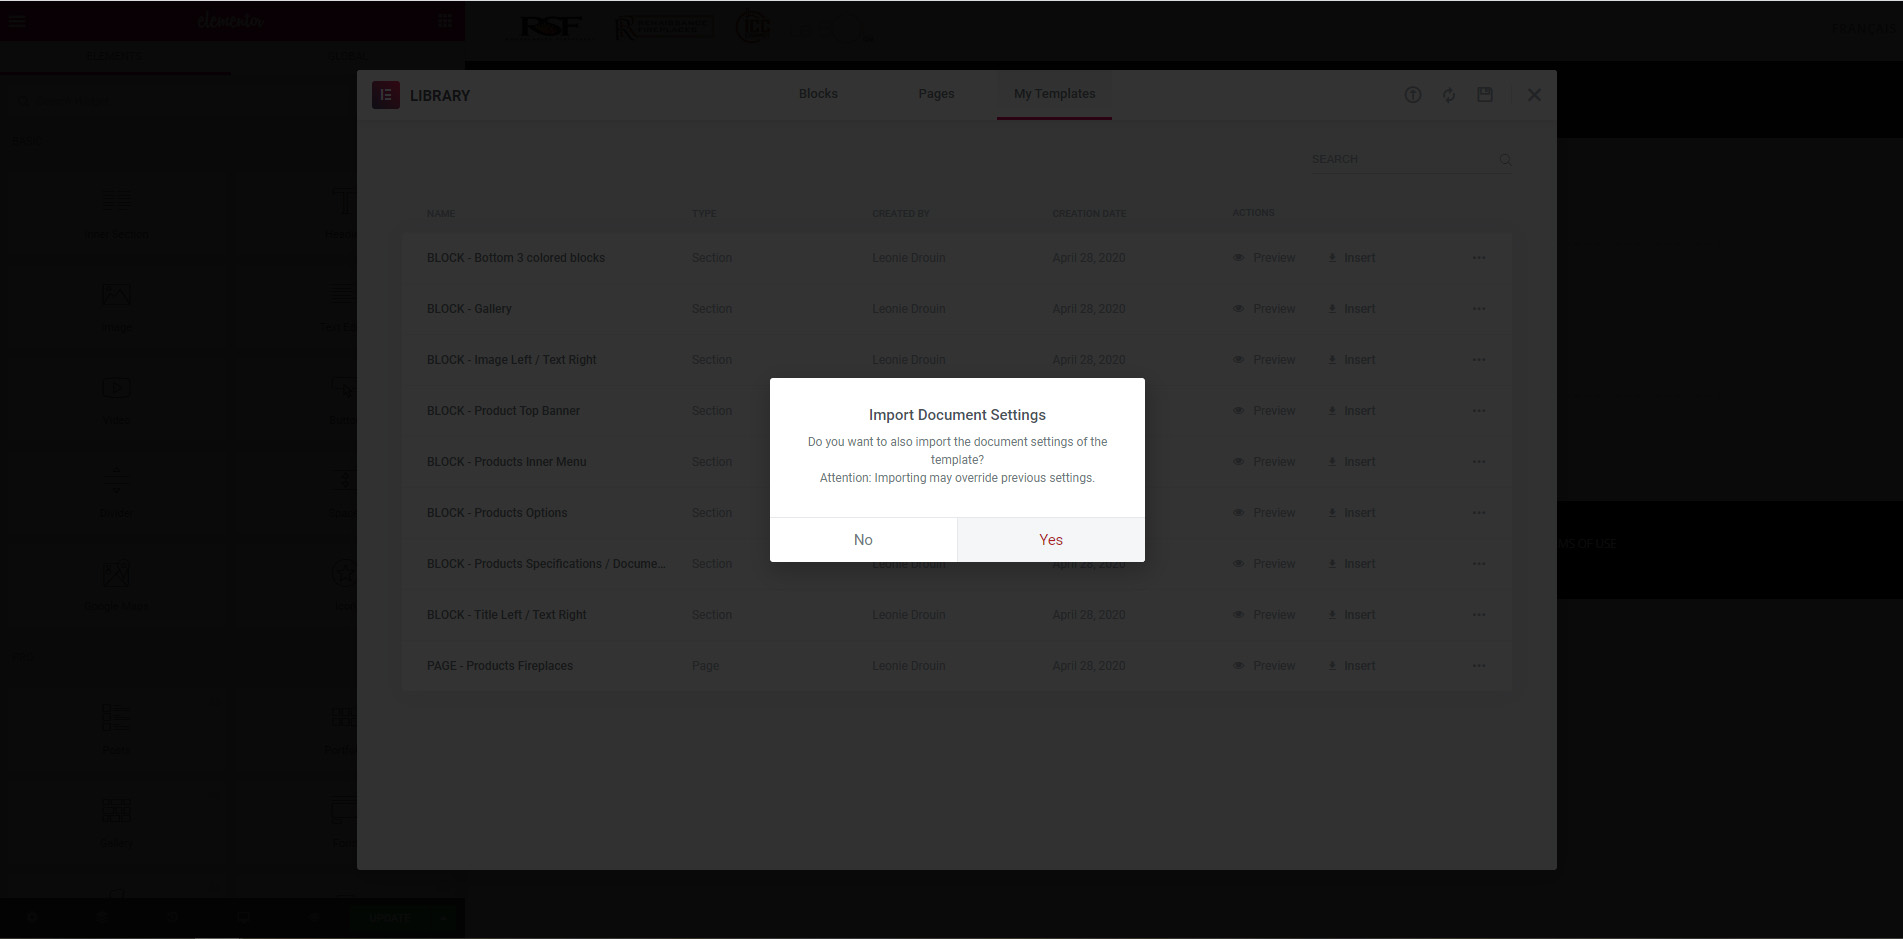
A pop-up will ask if you want to import the settings, click yes.
To change an image, for example the logo in the header, click on it. On the left panel, the image options will appear. Click on the picture on the left panel, and the media library will appear.
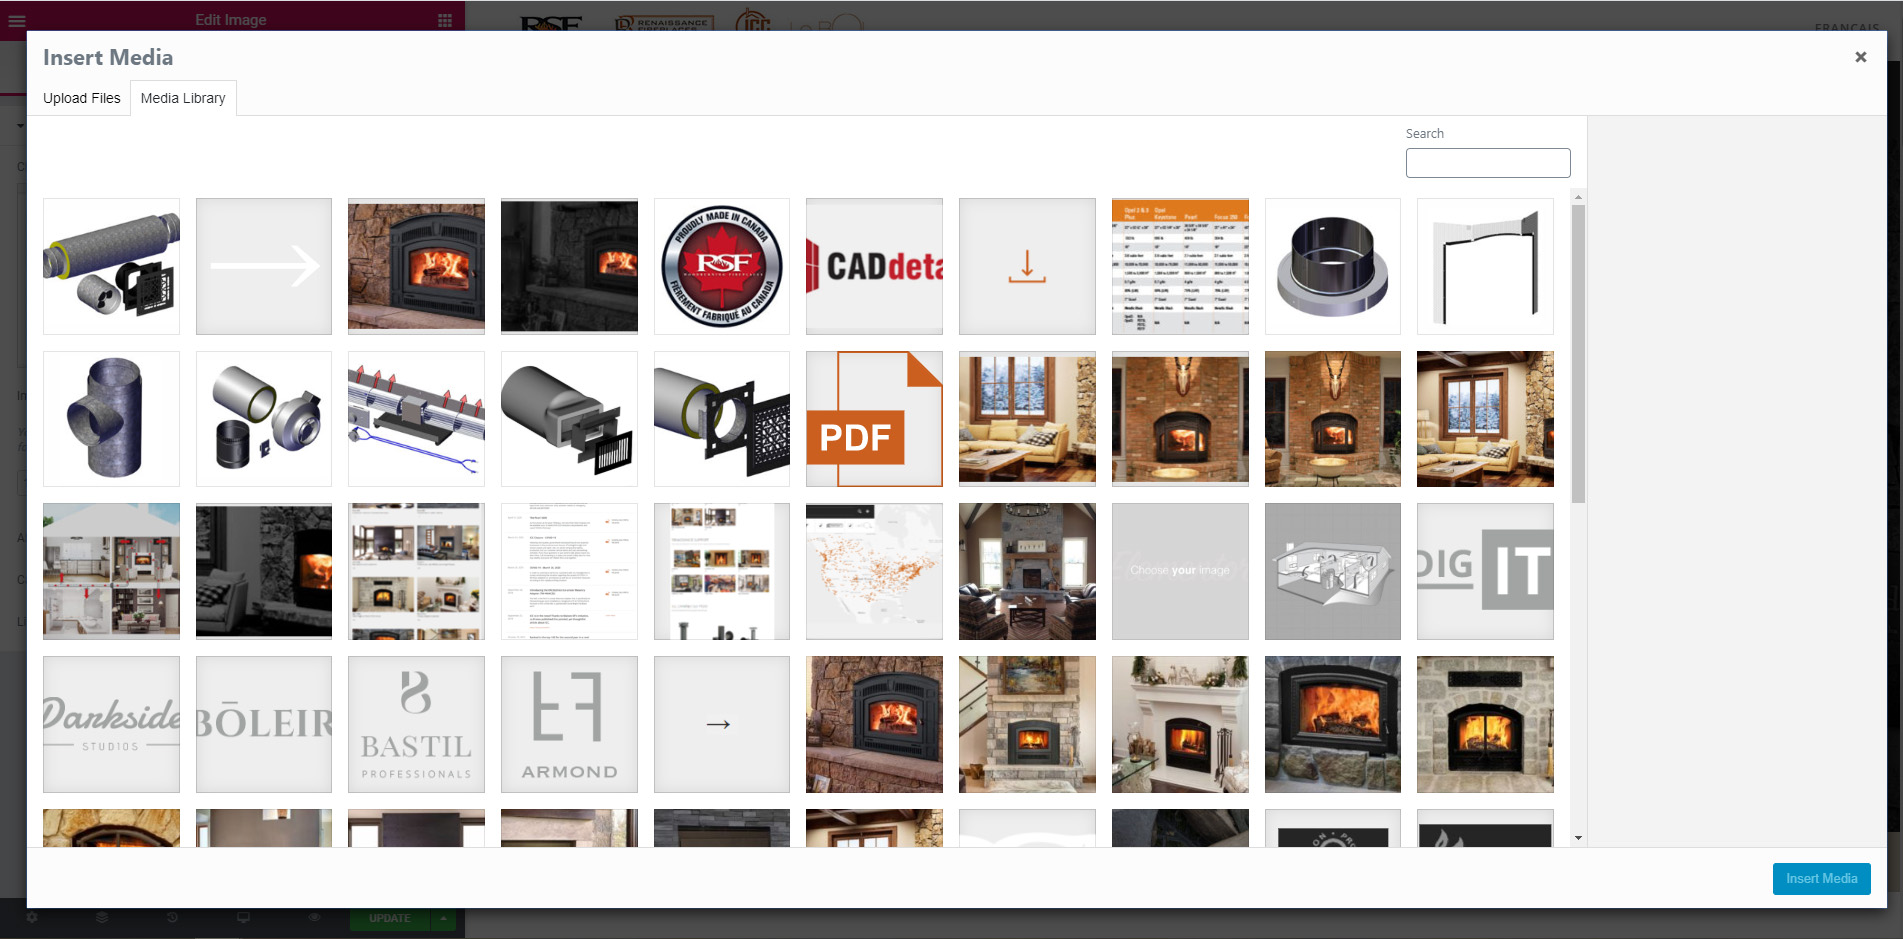
If the image you want to use is not in the media library, you can upload it by clicking on the Upload Files tab, on the top left. You can also use the search on the top right, for example you could search “Delta” to have a list of Delta’s picture and/or document.
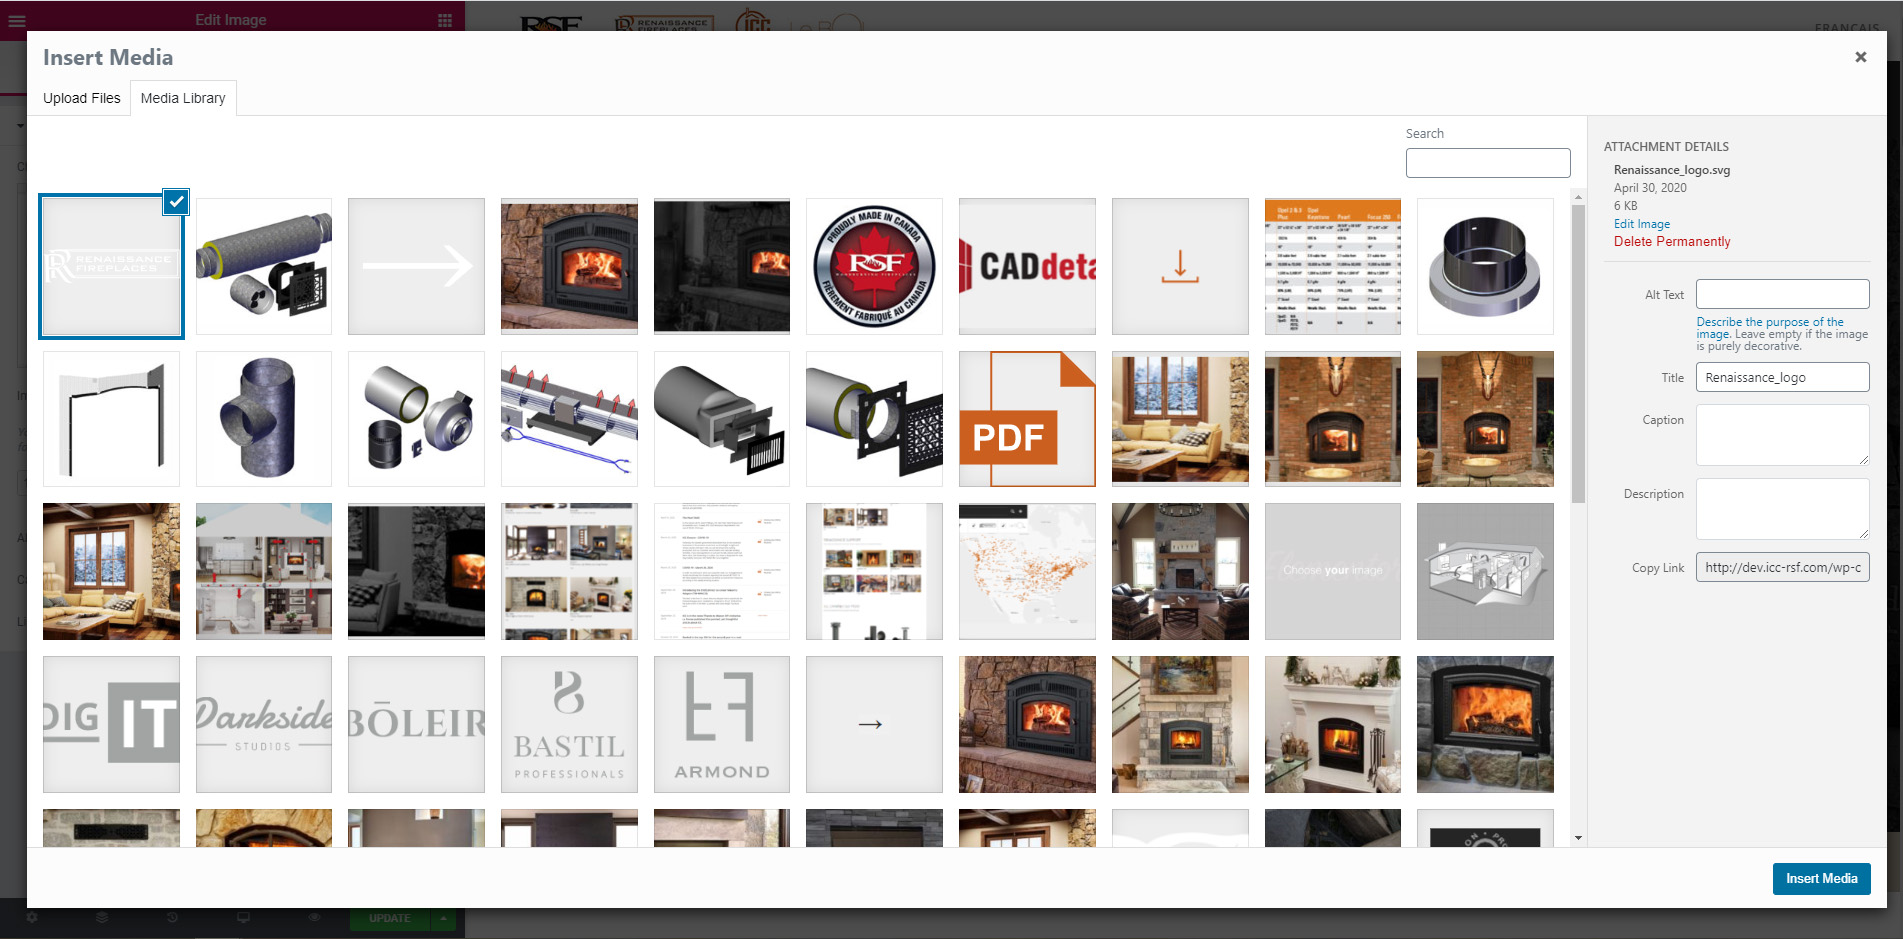
Once you have found or upload the image you want, select it and click on the bottom right button Insert Media.
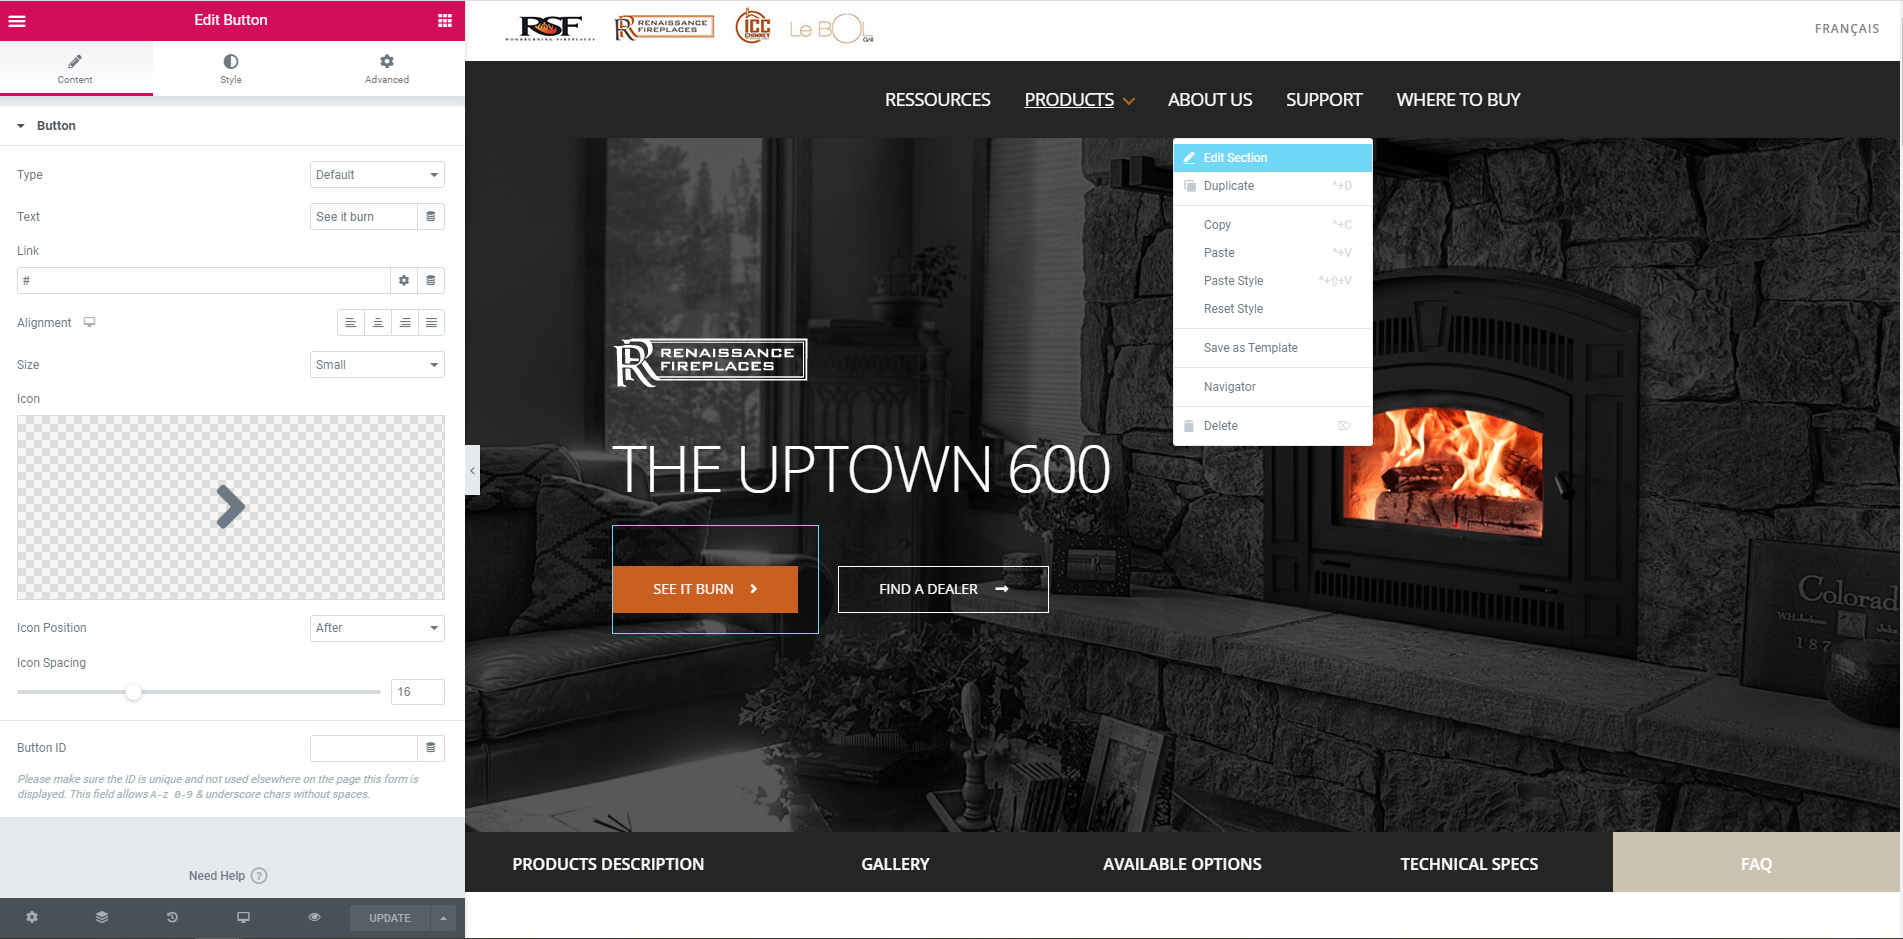
Changing the top header picture is the hardest part, because you will need to right click on the blue options tab that appears when you rollover a section, and as the first elements we previously remove, this options tab is now under the menu. You can do this step first when you have access to the options bar, and then remove the first default section at the top. Right-click on the dots, like we did to remove the top section, but now select the Edit Section option.
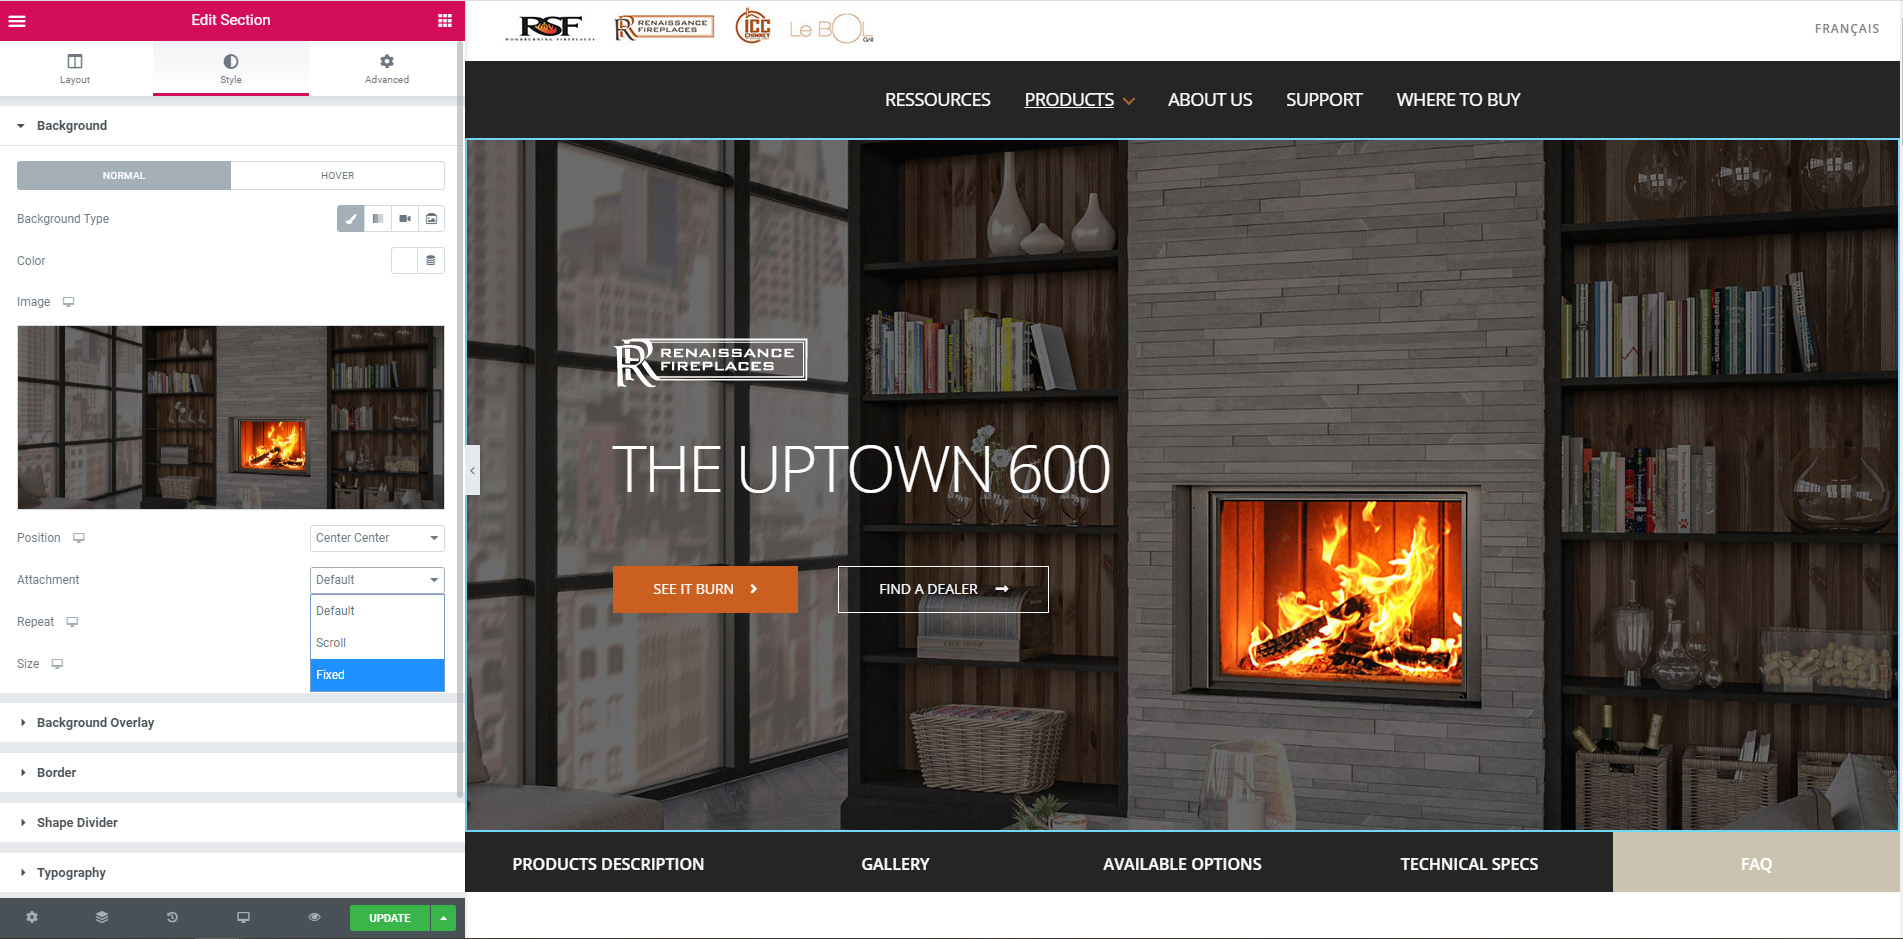
Now the section options will appears on the left side. Go to the Style tab. Under Background, you have the image. Click on it to go to media library, and then choose the image you want. Once you inserted the image, under the thumbnail on the left panel, in the Attachment field, choose the option Fixed. This will create the parallax effect, the image will not move while you scroll on the page.
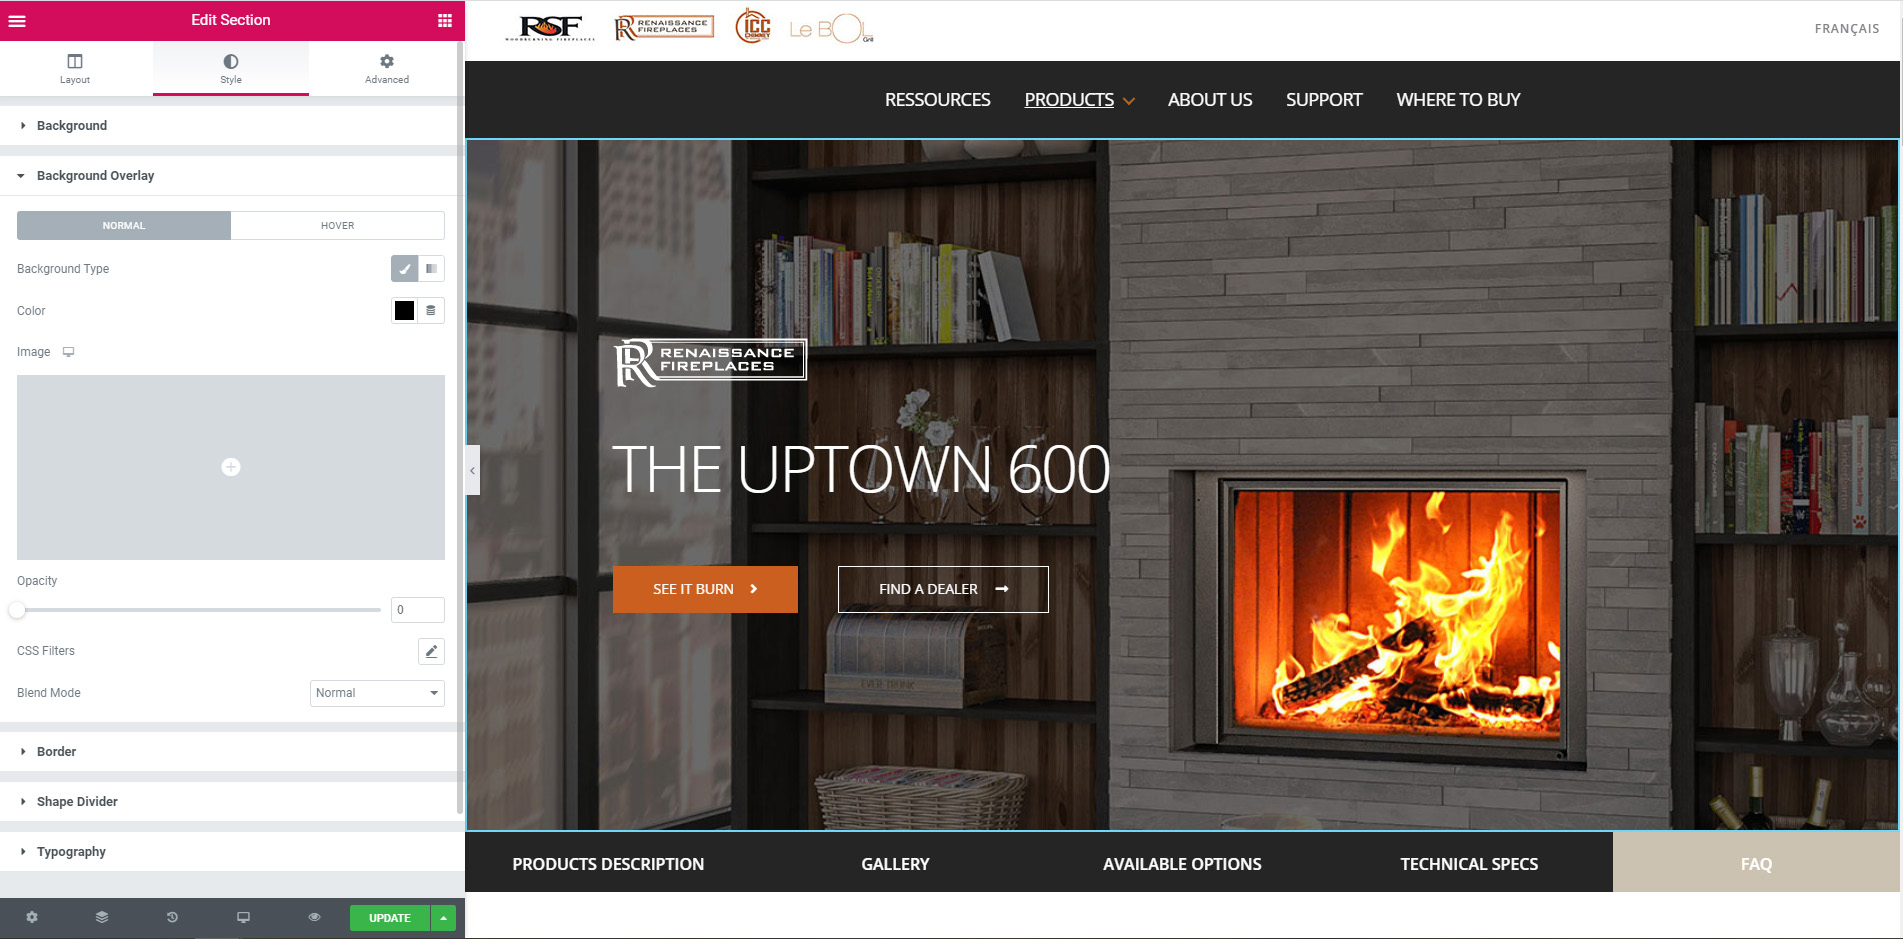
Another option you have for the background image, if you find the text hard to read, you can add an overlay on top of it. Under Background, you have the Background Overlay options. By default the color is black, and you can change the opacity with the slider at the bottom. Slide the dot until you are happy with the result (you will see it change live on the right).
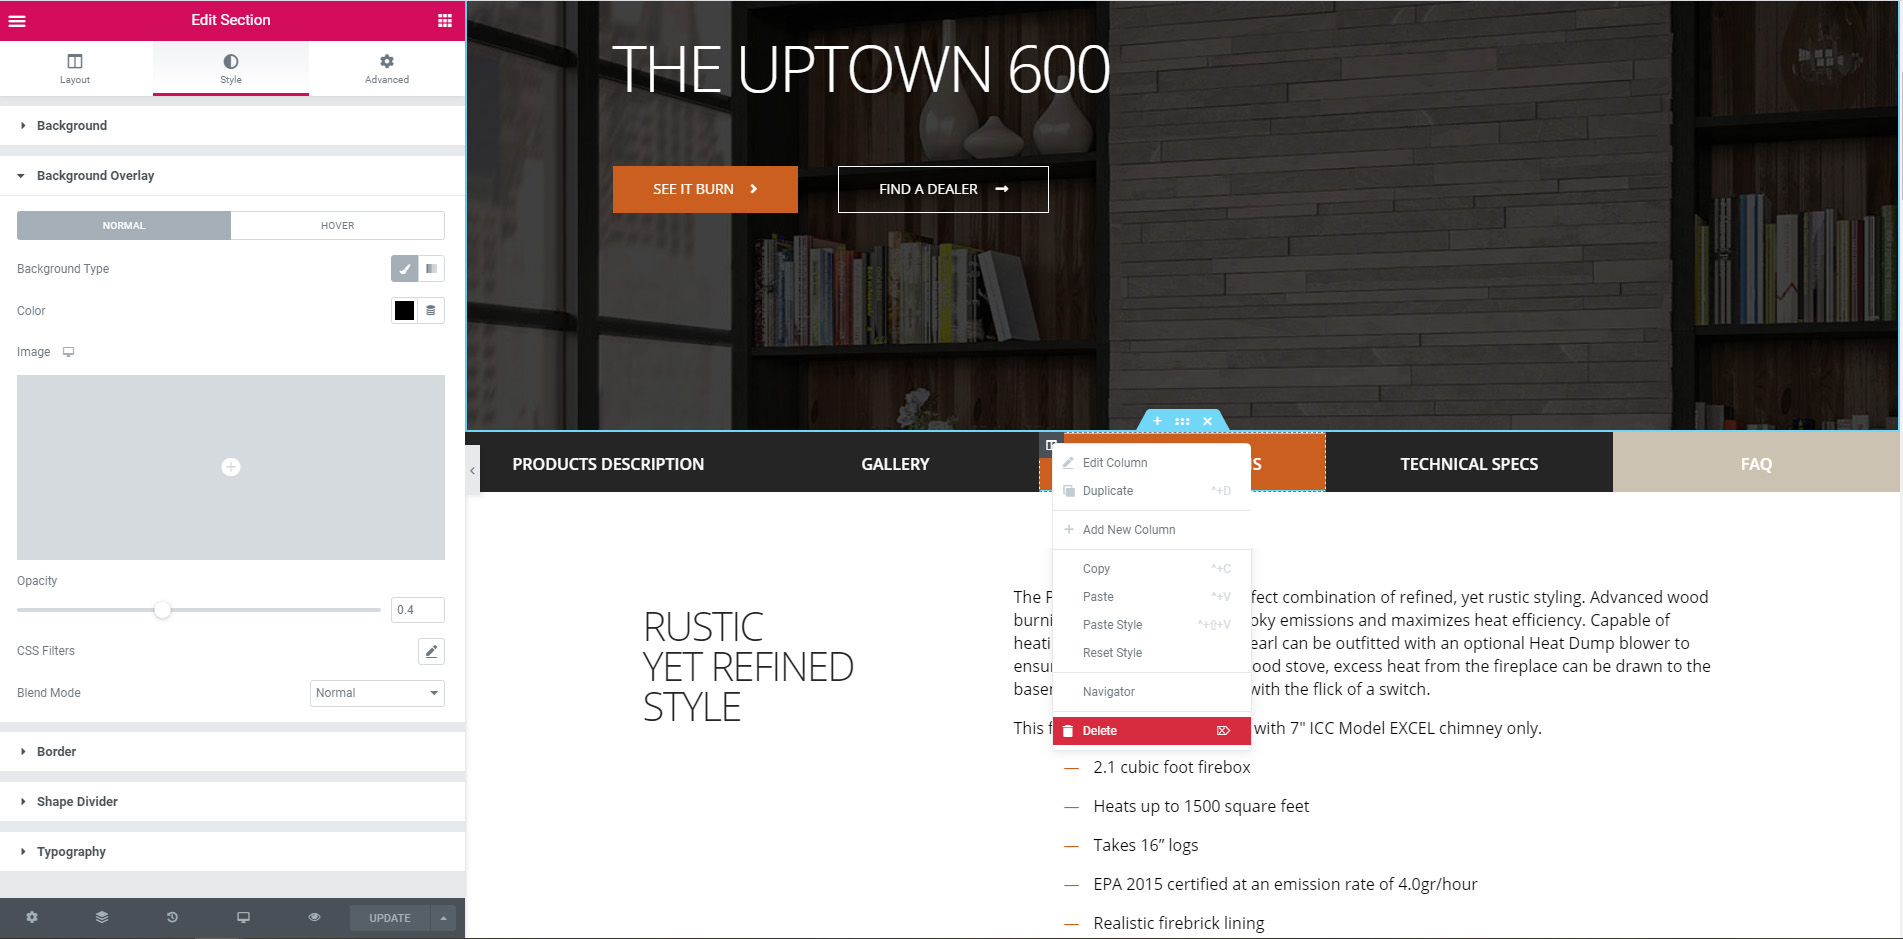
The next section of the page is the submenu that appears on the product page. For this product, the Uptown 600, we won’t have the options section, so we need to remove this from the menu. The menu is build in column, so we need to remove that column. Rollover on it until you see the column icon appears on the top left, and right-click on it. In the menu that appears, select delete. The column is now deleted, and the others will automatically resize to have all the same width.
If you need to add a new option, then you can do the same thing but choose the option duplicate instead of delete. It will duplicate the column, with all the same settings and content. You can also choose add new column but then it will be an empty column, you won’t have the settings and the content.
Everytime you click on a element of the page, the options related to that element will show on the left panel. The options will changes depending if you change an image, a text of a button. You also have option for the column (gray icon) and for the section (blue options tab). To access the options on the left panel, either left-click on the element (image/text/button) or on the gray icon (column) or the dots in the blue options tab (section).
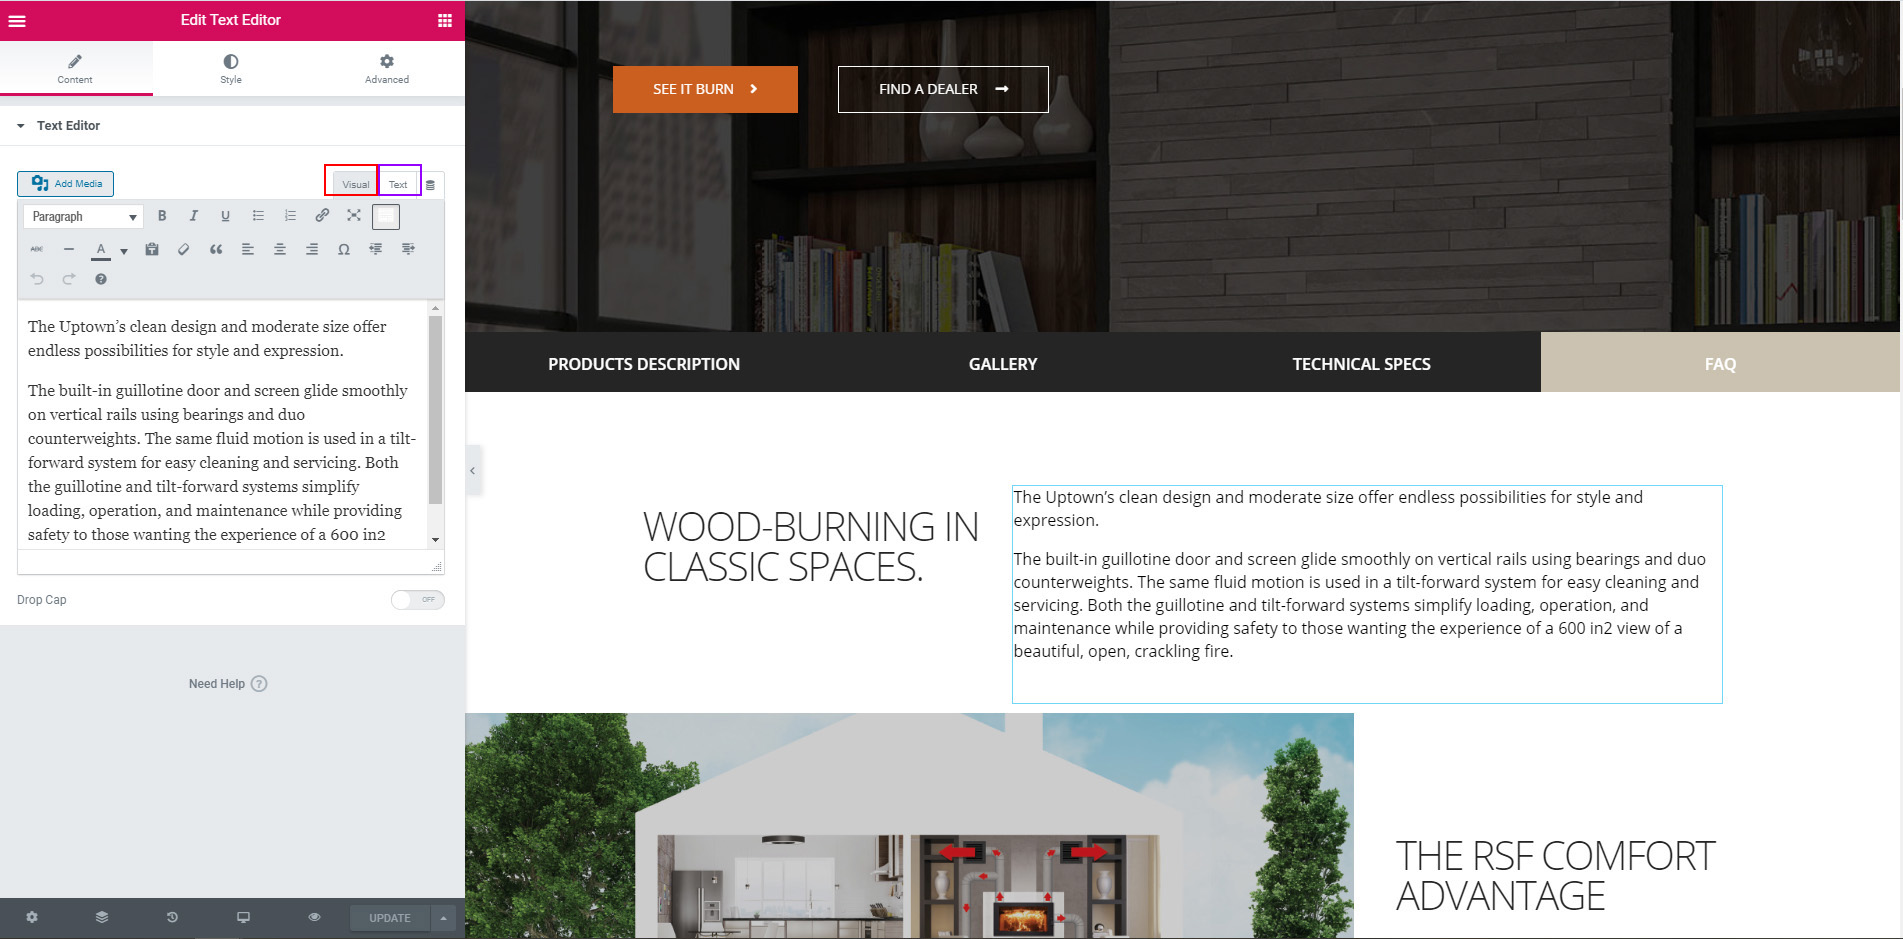
To modify the text, you can click on the text element and start typing/erasing. But you can also do it on the left panel, where you also have the options to change the kind of text (paragraph, header, bullets), make bold/italic, add a link, etc. If you want to have more control over the text, you can choose the text tab on the top right, which will show you the HTML code.
To copy/paste text from external source, it is strongly suggested to copy/paste the text in notepad first (free software installed in Windows by default), and then copy/paste the text from notepad to Elementor. Otherwise, the styling will follow and may not work with the site CSS styling. If you copy/paste to the HTML code you don’t need to remove the styling, it will be done automatically. So another option you can do, is copy the text, go to the text tab (the HTML code) and paste, and then go back to the visual tab and style the content as you whish (paragraph, header, bullets, etc).
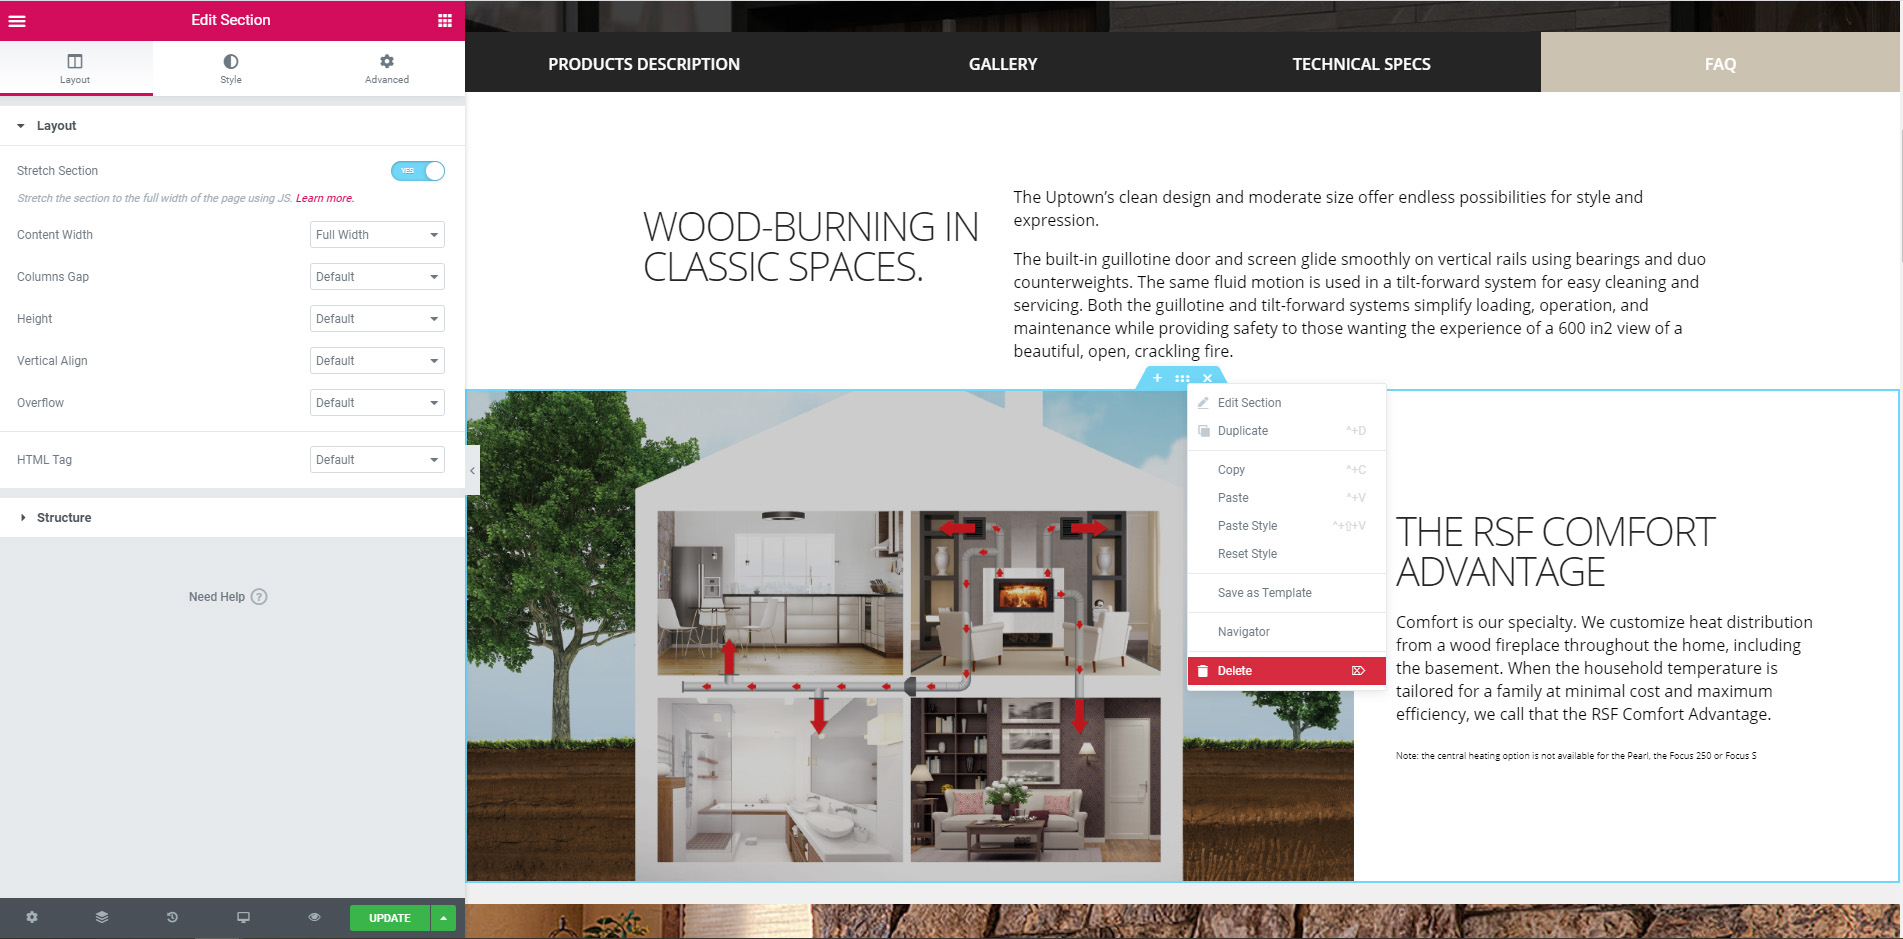
The page template have a lot of sections, and you may not need all of them. As in this example, I don’t need the options section, so I will remove it. To do so, you can right-click on the dots icon on the blue options tab of the section, and select delete. Or, you can simply left-click on the top right X in the blue option tab, it will do the same. The left + icon will create a new section on top of the one you’ve selected, and if you left-click and hold on the dots icon you can move the section up and down another section on the page.
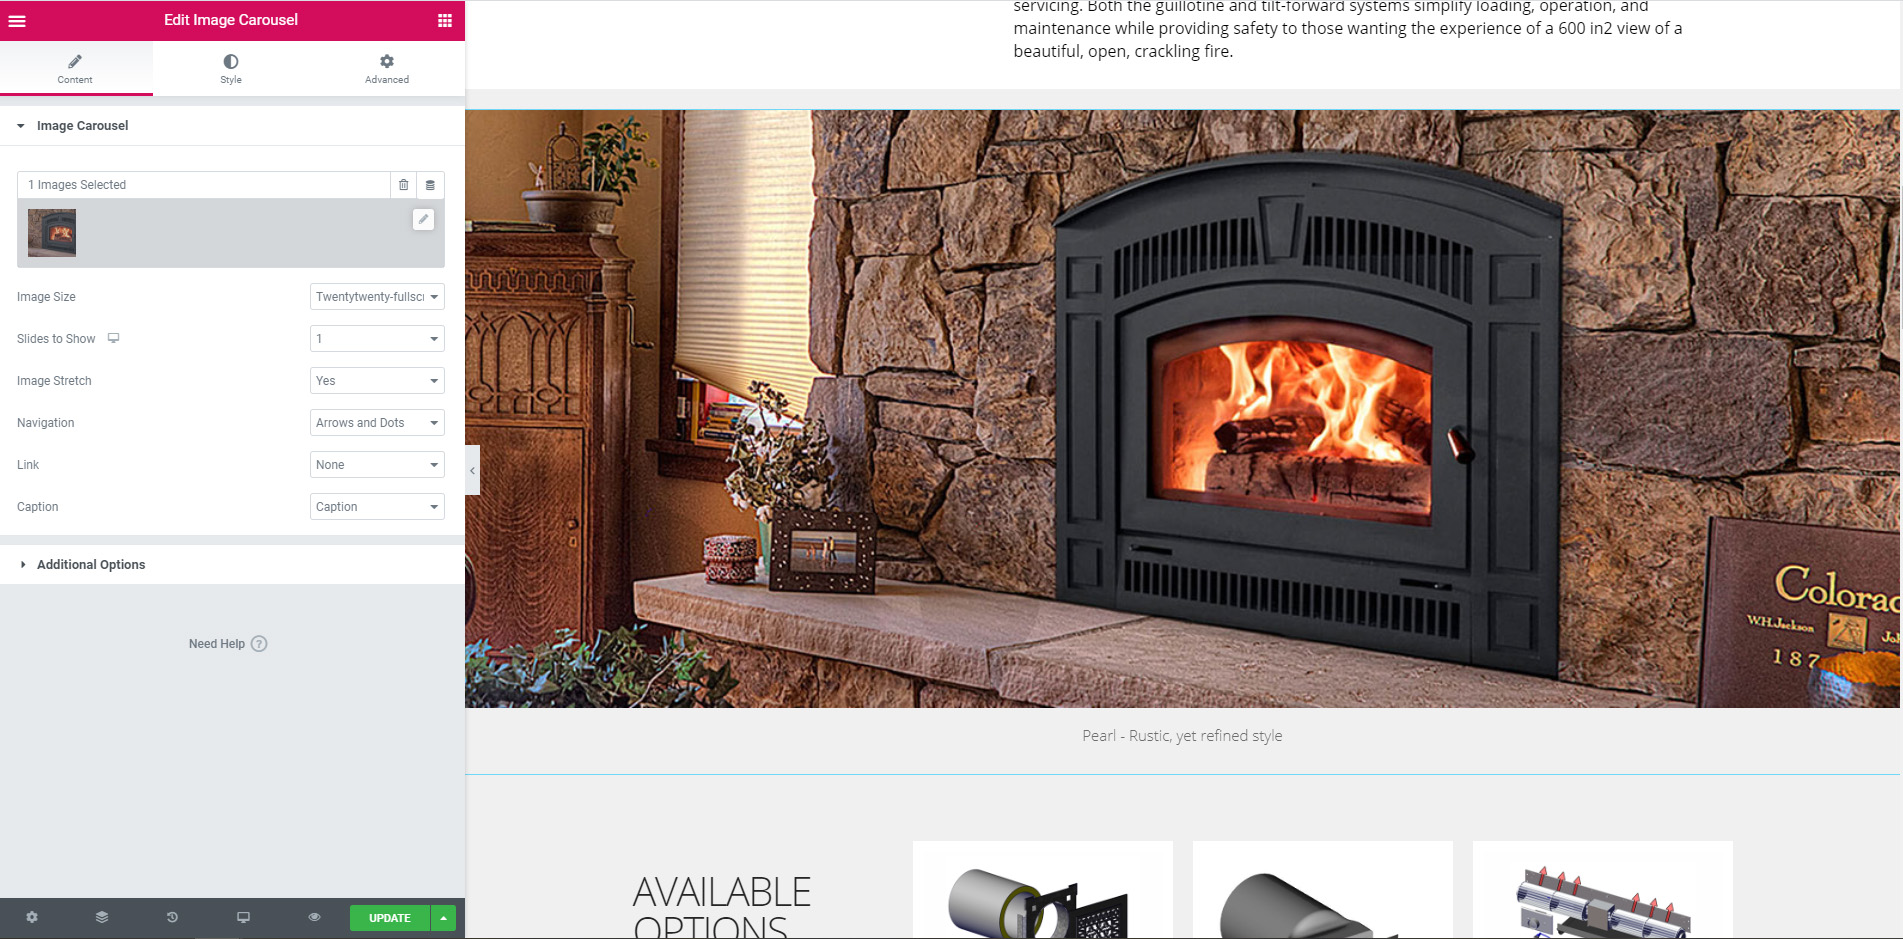
The next section is the image gallery. This section height will change depending on the image, so to keep a nice and fluid looks I strongly suggest keeping all images to be displayed in the exact same size. To avoid the gallery to be too big, the size I’ve been using is 1200 px wide by 500 px hight. You can resize/crop the images using a free open source softare like GIMP.
To add/remove or modify the slides, you have to click on the gallery, and then on the image thumbnail in the images selected section on the left panel.
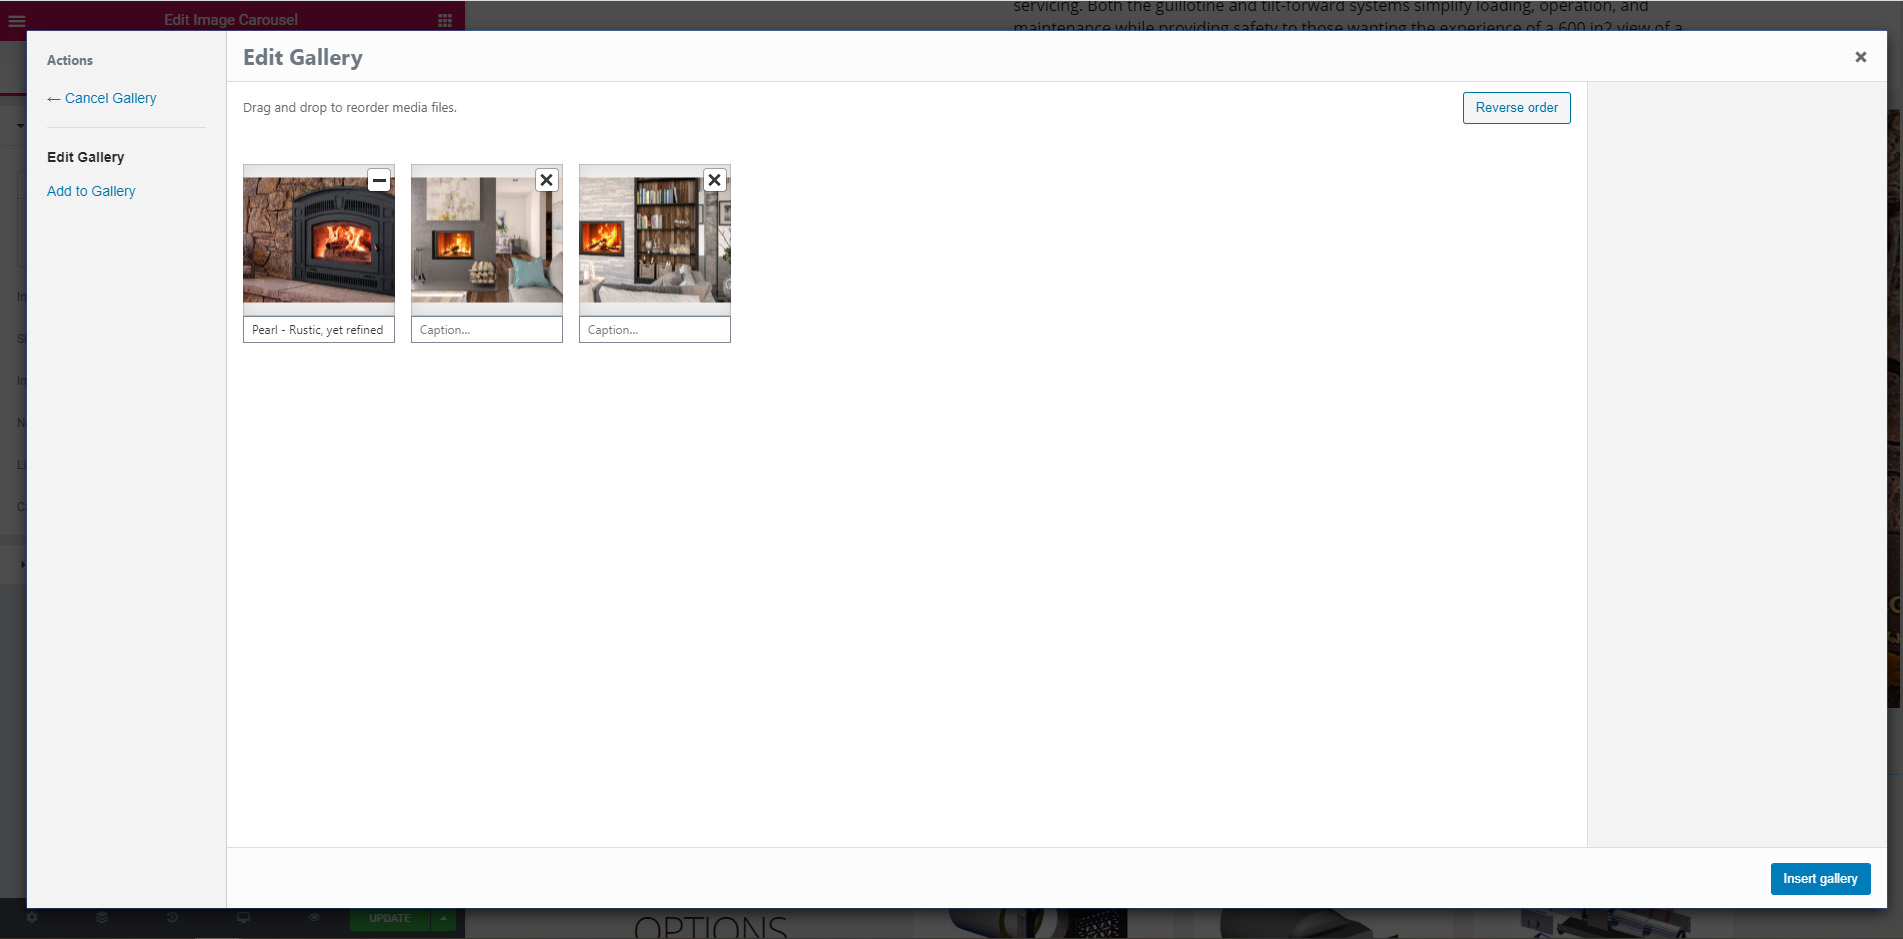
You will then see the images’ thumbnail appearing in the gallery. To add more images, you need to click on the link Add to Gallery on the left side. This will bring you to the media library, where you can choose or upload your images. Note that you can select multiple images at once. Then click on add to gallery. It will bring you back to the gallery images options, where you can change the order, and add a caption under the image. To remove an image, rollover the thumbnail and click on the – icon on the top right corner.
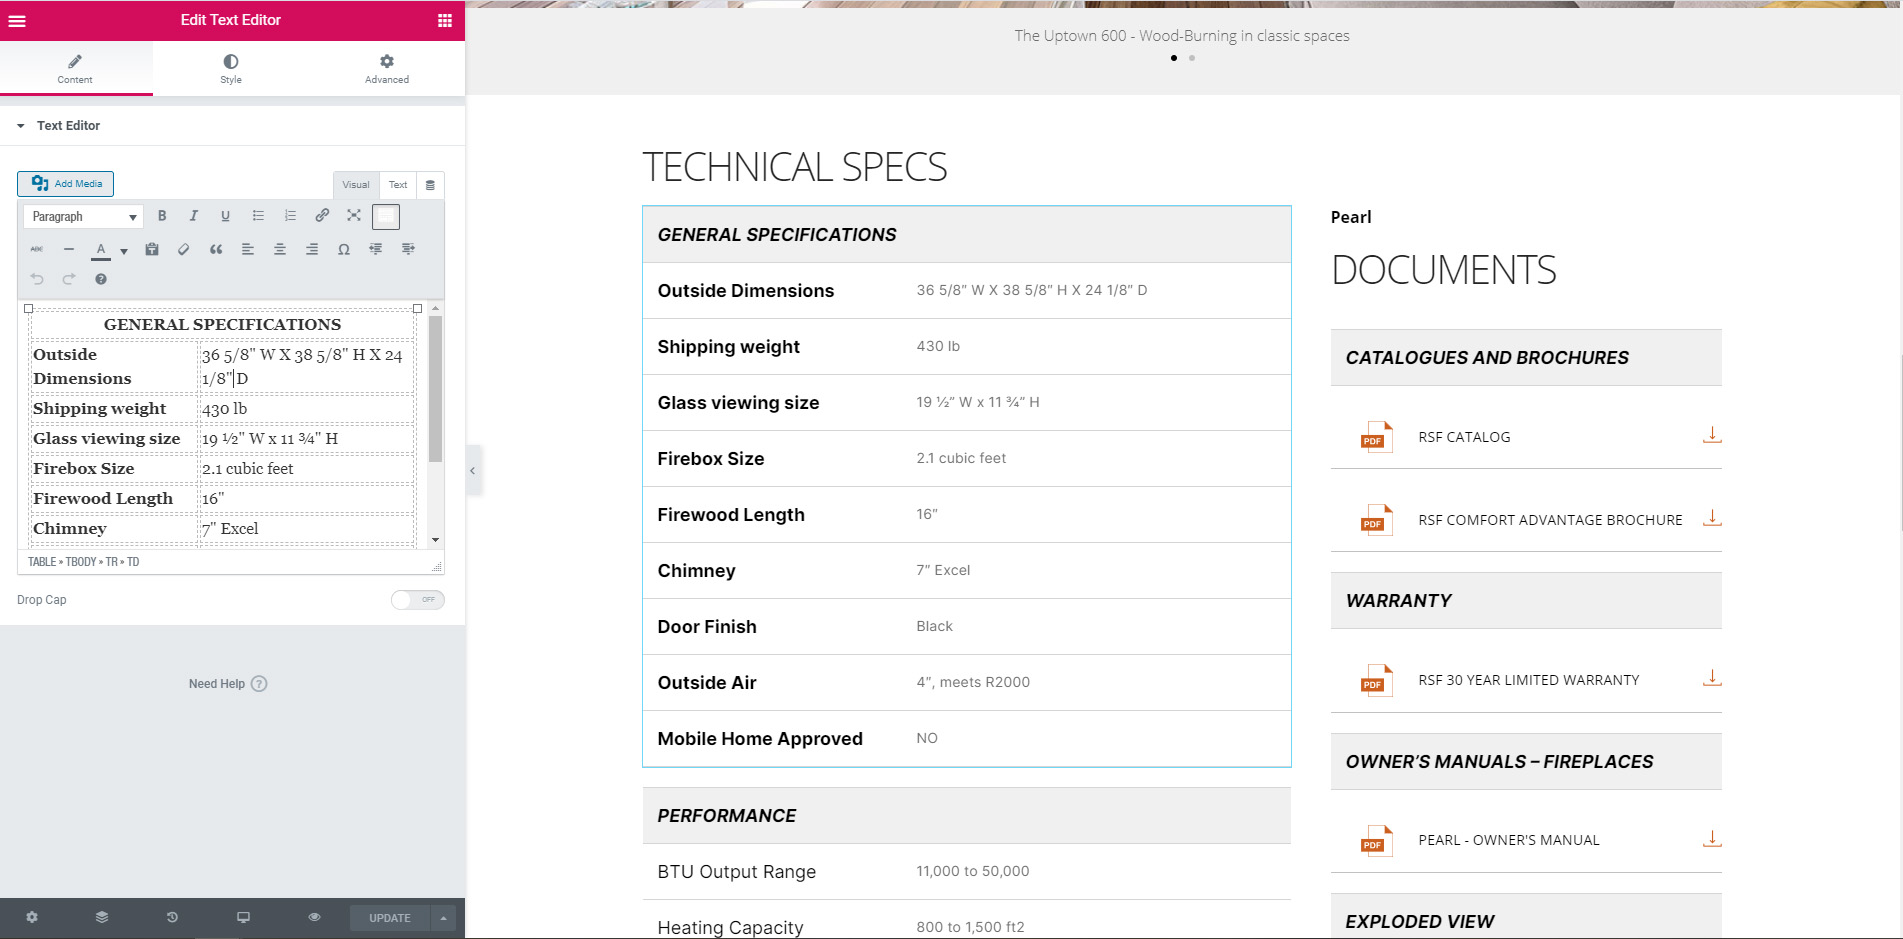
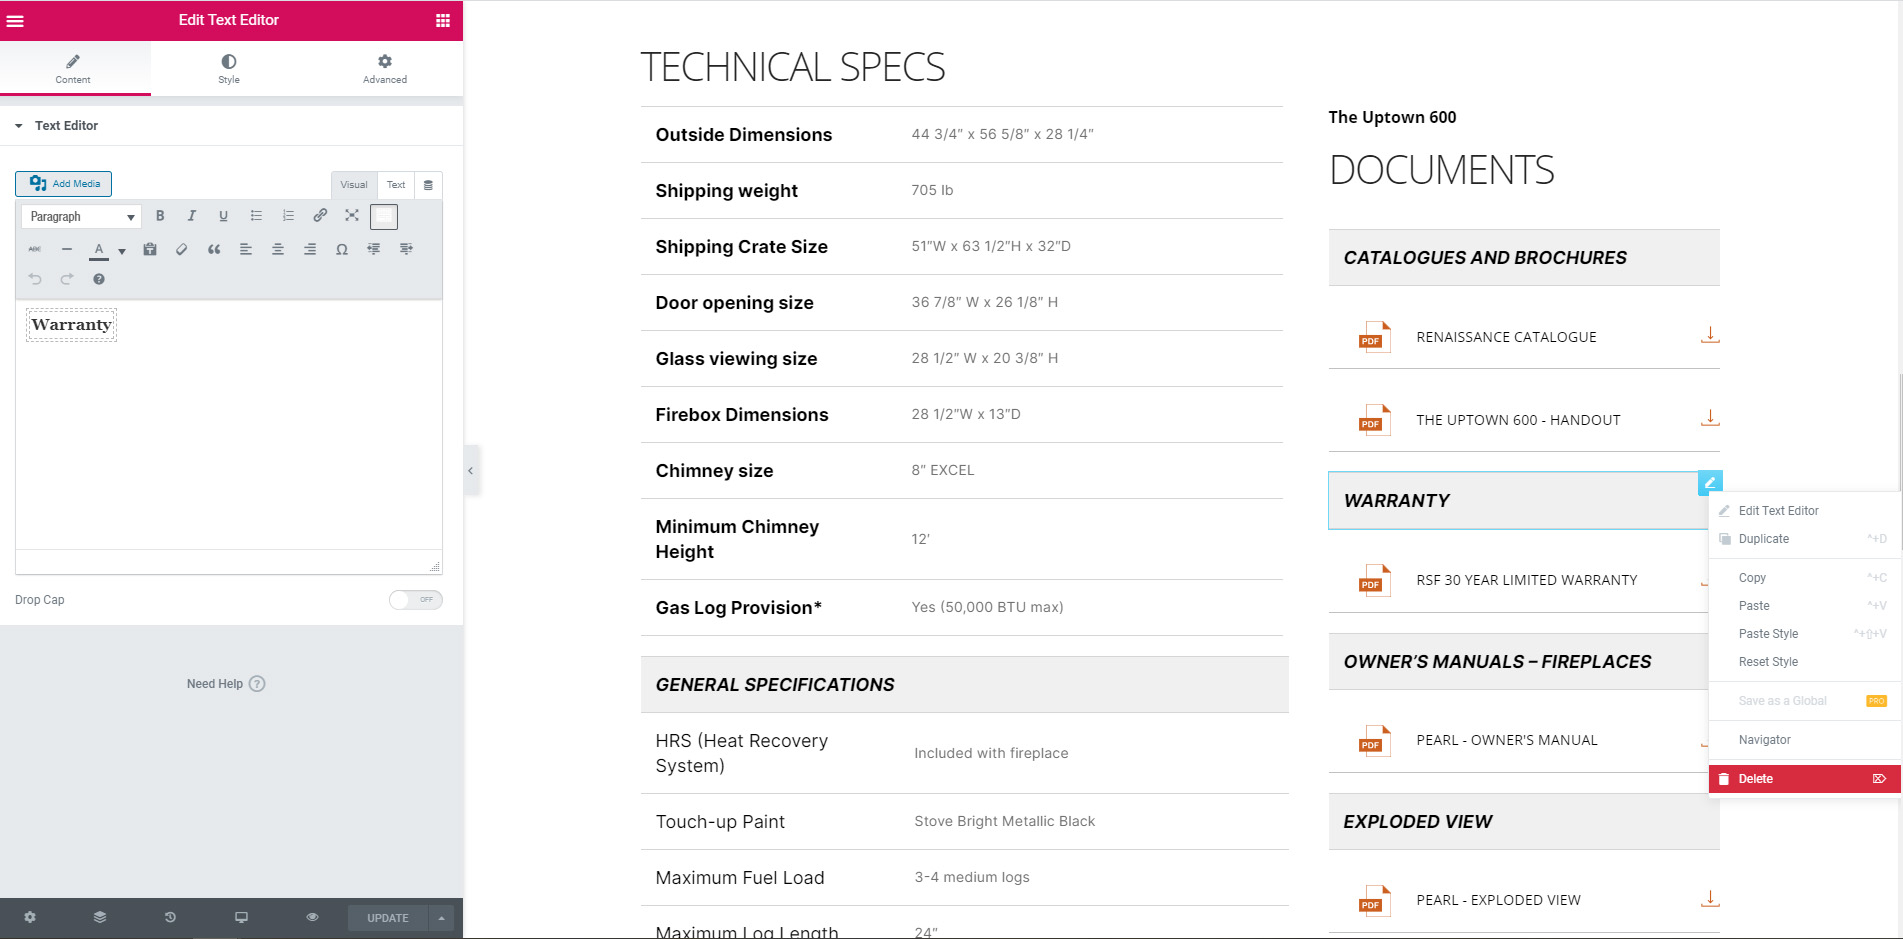
Now to the Technical Specifications section. Here we have two columns, the technical specs to the left, and the documents to the right. The look are similar for both, but it’s not built the same way.
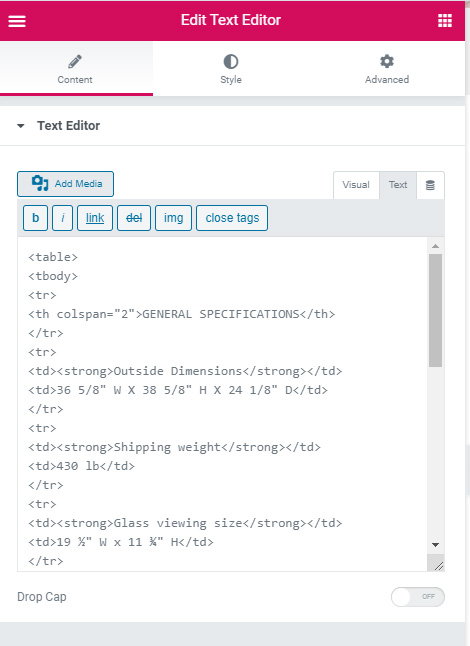
For the technical specifications, since it’s mostly text, I’ve used a table. When you click on the content, you will have on the left the text options available. You can modify the text in the table, but it’s not very user friendly since there’s not table options in the editor. If you need to add column or row, you will have to go to the HTML code (the text tab on the top right corner of the editor).
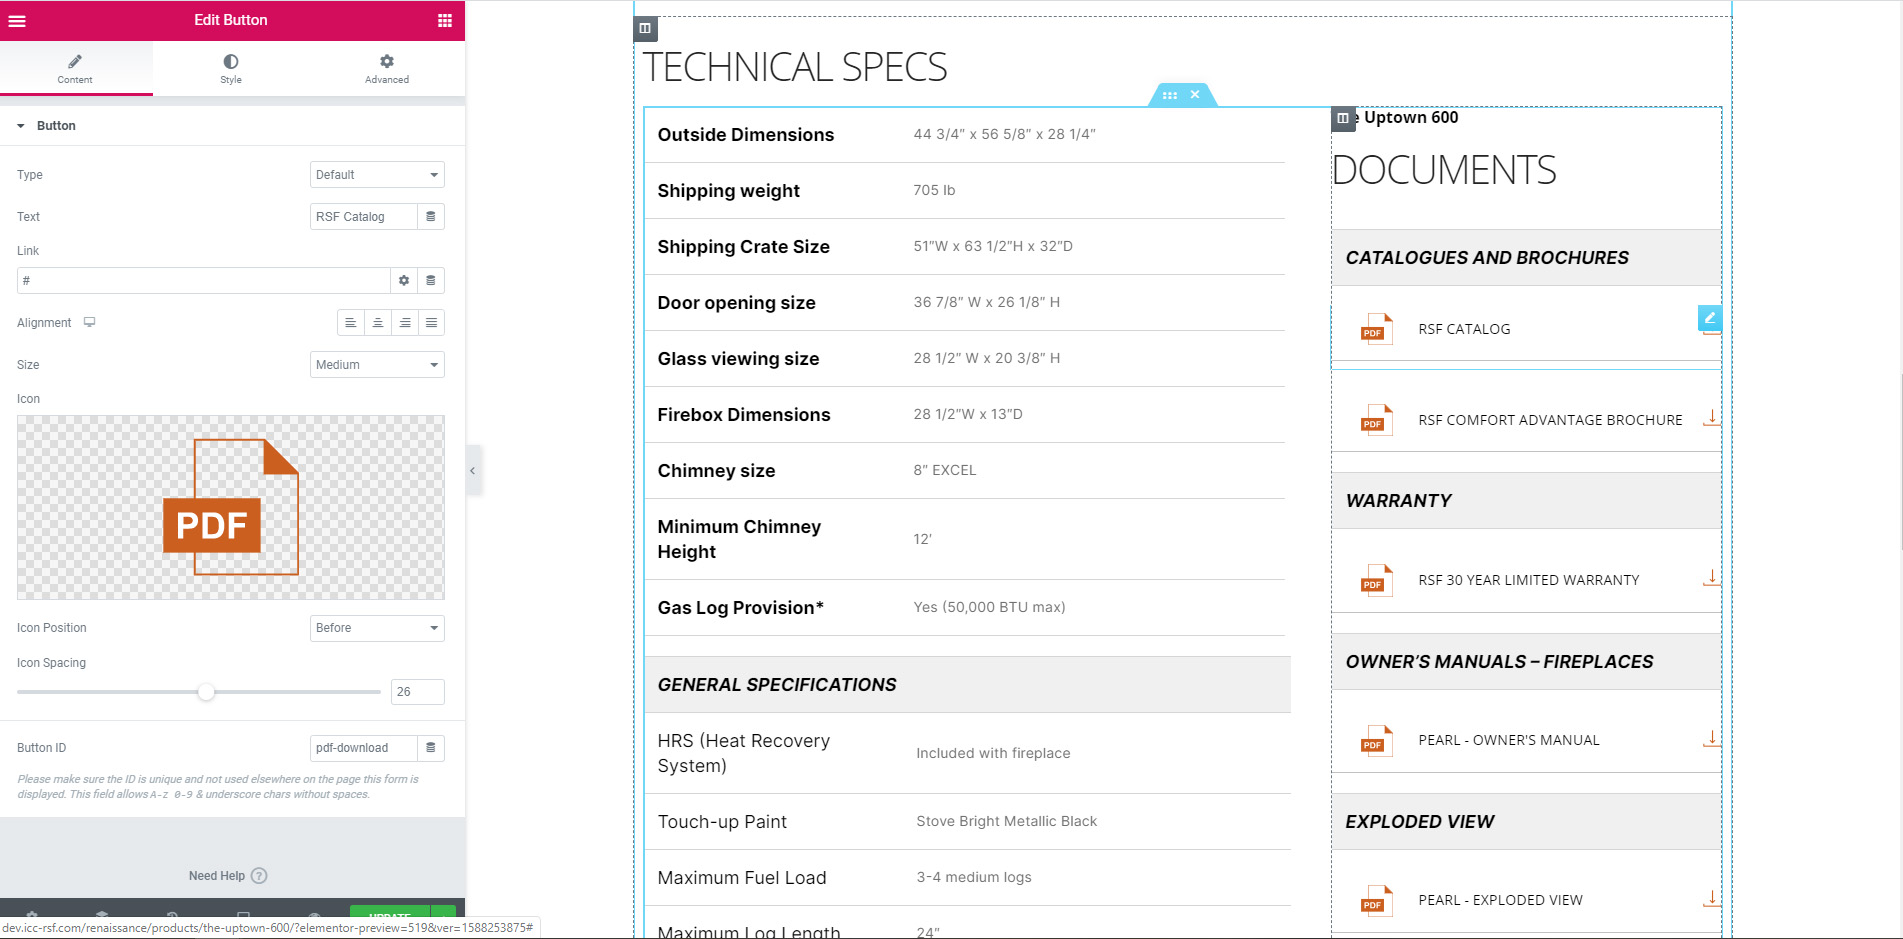
For the documents, all links are in fact buttons. When you click on one, you will have the button options appearing in the left panel. All the styling and settings are already in place, you just need to modify the text appearing on the button and the URL. Unfortunately, you don’t have an option to click and link to a selected item in the media library. You will have to retrieve the document URL first, and then copy/paste it in the Link field of the button.
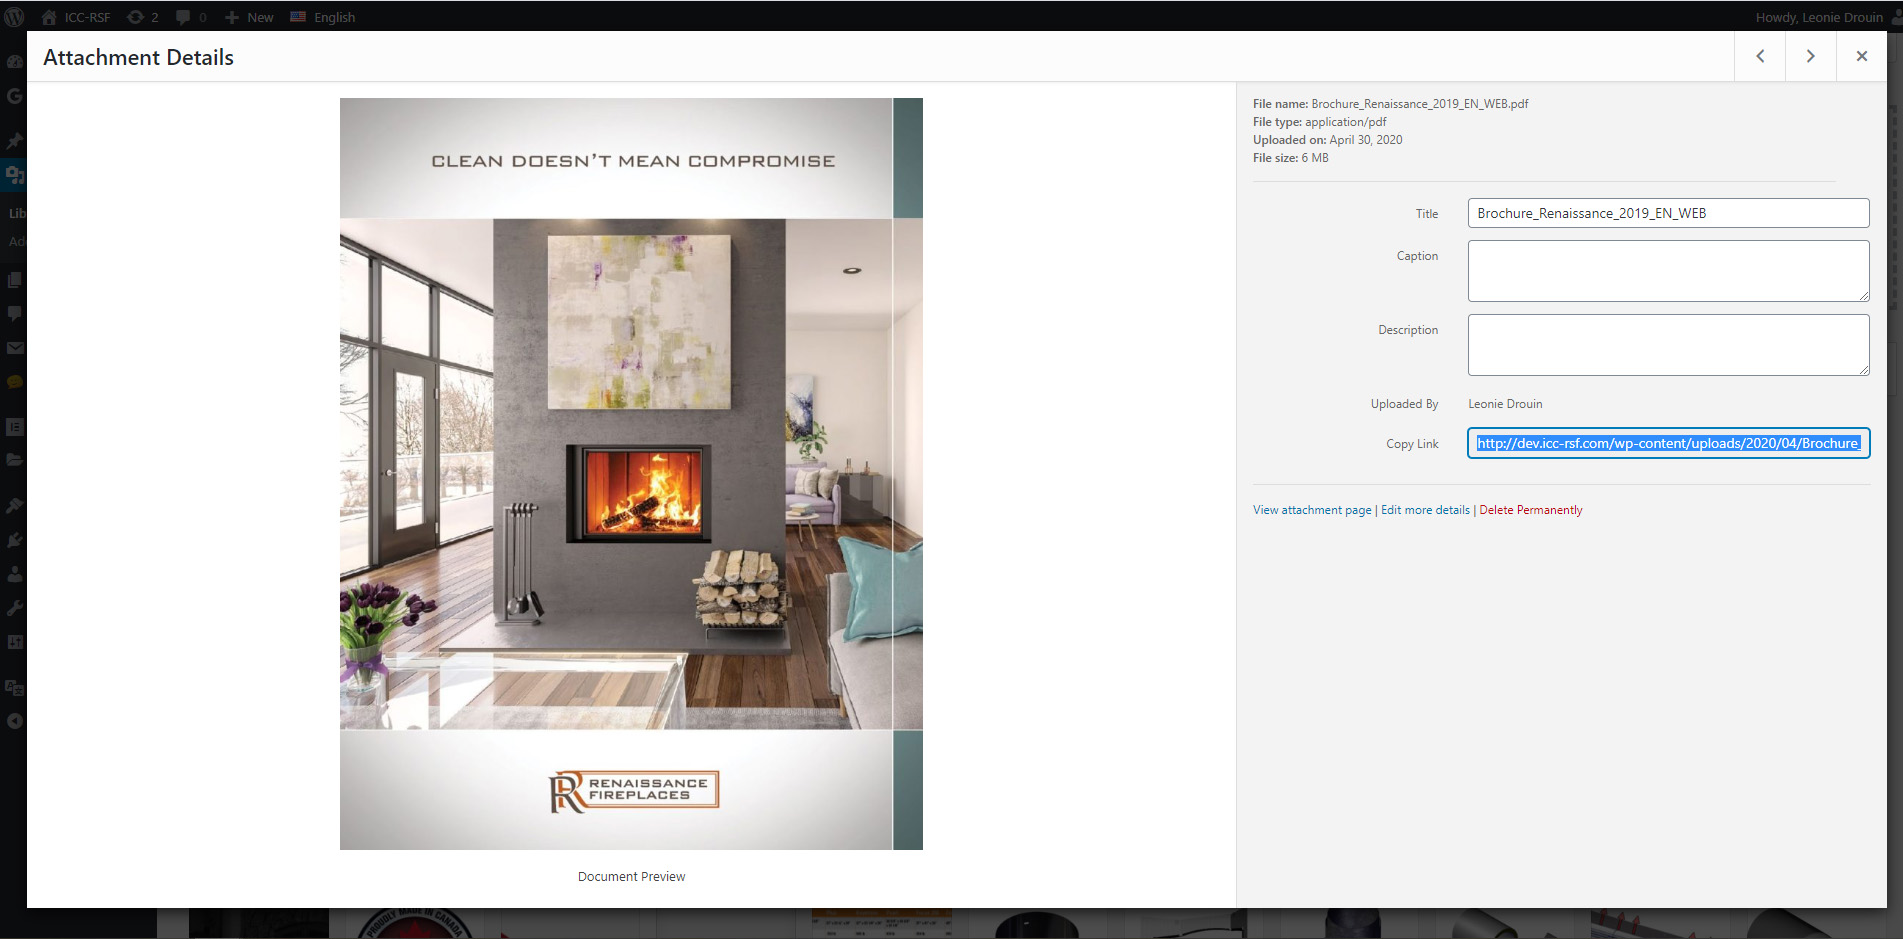
To do so, I suggest to have two browser tabs open, one with your page and the other with the media library. That way you can easily go back and forth to copy the links. So first, go to the media library, find or upload the document you wan to link to, and click on it. In the options on the right, you will see the field with the URL. Select all, and copy.
Back to the page, click on the button you want to modify, and on the left panel, paste the URL in the Link field.
Now, two important things. First, We need to remove the first part of the URL: https://icc-rsf.com
If we don’t do this, then once the website is ready and we published, the link won’t work anymore because the URL will change from dev.icc.rsf.com to icc.rsf.com. Removing the first part creates a direct link to the document, that will not change either we are on the development or live website.
Secondly, we need to make the link open in a new tab, it is not done by default. To do so, we need to click on the wheel icon on the right of the Link field, and then check the option open in new window.

If you don’t need as much buttons in the documents section, then move you cursor over it and right-clik on the blue icon on the top right corner, and click delete. You can do the same thing for text or image element. If you need more button, you can right-click on the same icon, and duplicate the button. That way you keep all the same styling and settings. If you need to change the order of the button, left-click on the blue icon, hold and drag the button where you want it on the page. You can move the button (or element) in the same column, or in another column/section. Sometimes you may do it by mistake, just click Ctrl Z or go to the History icon on the bottom of the left panel to cancel.
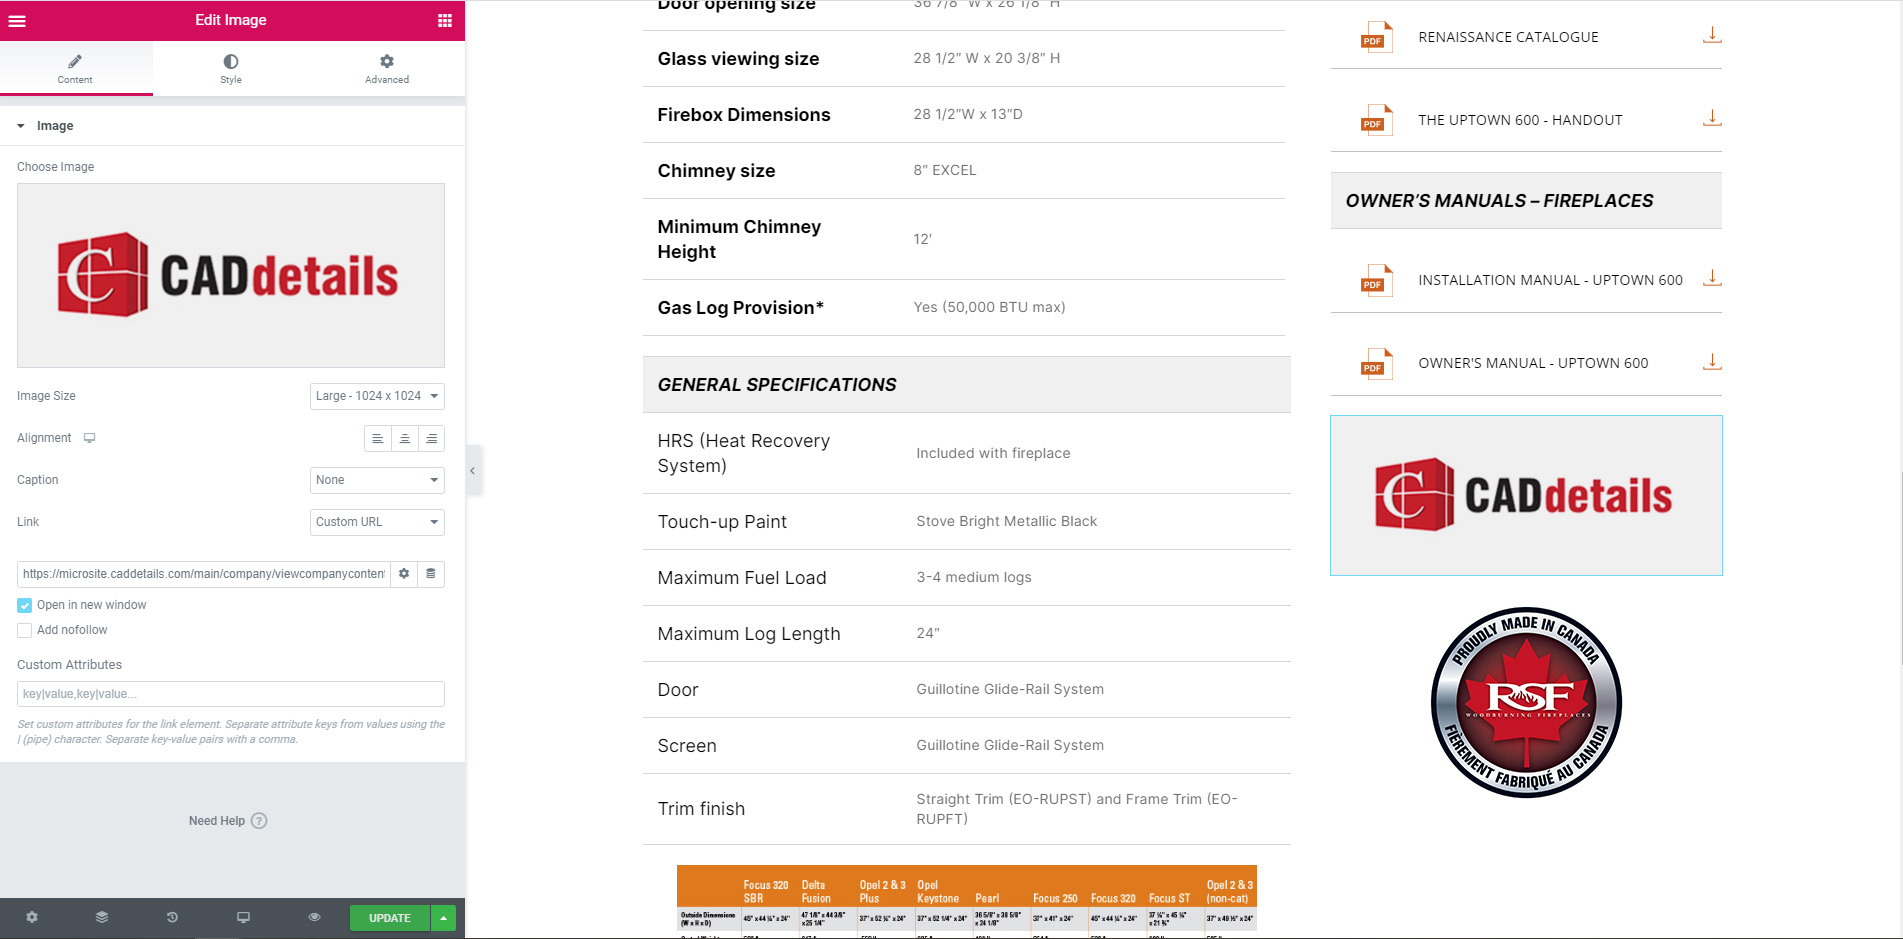
You can add a link to an image, the option is on the left panel. At the bottom you have a field Link with options, choose the Custom URL and add the URL you want. Click on the wheel icon on the right of the link field to select the option to make the link open in a new window, if you want.
Final Step – Publish the page
Once you are happy with the page, you can click on the green button Update at the bottom of the left panel. Since we are working on a development site, it doesn’t matter if you click on this at the beginning, and it can help save the progress.
After you click this button, you can click on the top left three lines icon, in the pink elementor menu bar on the top left, to go back to WordPress.